RetroArch 1.7.6 has just been released! Grab it here.
If you’d like to show your support, consider donating to us. Check here in order to learn more.
NOTE: Currently the following versions have not yet been released – Xbox OG and OSX PowerPC. We will keep you up to date on Twitter and update this blog post accordingly.
Highlights
PlayStation2 port – now available!
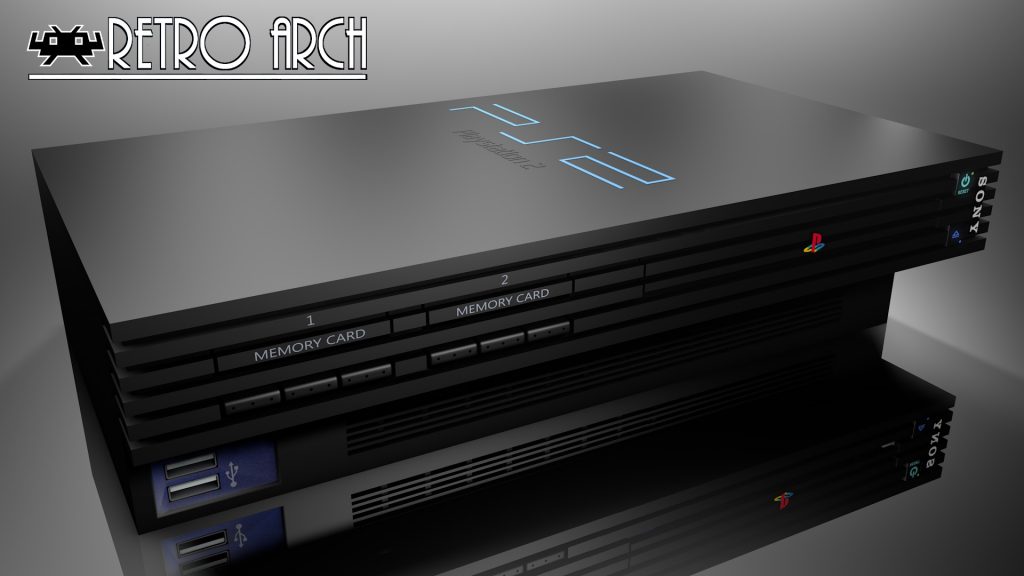
RetroArch has been ported to the PlayStation2 by fjtrujy, and starting as of version 1.7.6 you can already try it on your own homebrew-enabled PS2!
A couple of cores have been included as part of this initial release:
* 2048
* FCEUmm (NES emulator)
* QuickNES (NES emulator)
* Picodrive (Mega Drive/Genesis/Master System emulator)
NOTE: To run Picodrive and FCEUmm at fullspeed, you need to set Vsync to off. QuickNES will be fullspeed with vsync on.
How to use it on a PS2
You will need a PS2 capable of running homebrew programs. For the purpose of this quick step-by-step tutorial, we are going to assume you are using something like FreeMcBoot.
- Start up your PS2.
- Go to a file manager such as LaunchELF.
- Take a USB stick, and extract the contents of RetroArch_elf.7z for PS2 to your USB stick. Insert the USB stick into your PS2.
- Inside LaunchELF, navigate to mass:
- Start up any of the ELF files depending on the core you want to use.
PlayStation4 port (public release TBD)
RetroArch has been ported to PlayStation4 by Frangarcj, Big Boss and others!
A few cores have been ported and have been confirmed running already, such as SameBoy and 2048.
The PlayStation4 port is using a homebrew SDK called liborbis, and thanks to this SDK we are able to use OpenGLES 2 on the PS4. This means that from Day One we have a fully functioning GL driver and working XMB/MaterialUI/RGUI drivers. It also means that OpenGL hardware accelerated cores should be possible.
Frangarcj wants to wait with a public release until OELF format support has been added to the SDK, so until then we will ask for your patience. It might be possible to provide you with a compilation guide in case you want to build it for yourself later on.
NOTE: In order to use this RetroArch port, you will need a PlayStation4 system that has been jailbroken. Right now this means your system should be on either firmware 4.55 or firmware 5.05.
Xbox One port (public release TBD)
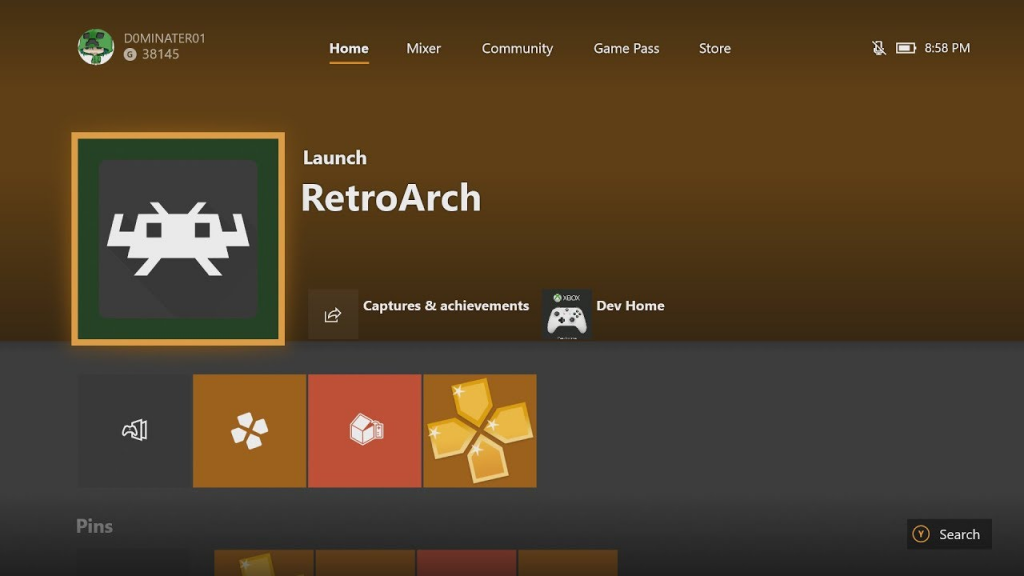
RetroArch has been ported to the Xbox One courtesy of krzys_h! While we want to wait a while longer before we do a public release, we do want to let you know that unofficial builds are already available on the Internet, and it’s up to you to try them out to check the current state of development.
To be specific, the Xbox One port has been made possible as part of a larger endeavor to port RetroArch to Microsoft’s UWP platform. This means it can now function as a Windows 10 UWP app as well as a Xbox One app.
The Xbox One port of RetroArch uses a Direct3D 11 driver (Direct3D 12 for whatever reason turned out to have worse performance, so we aren’t using that). It is already running out of the box with full menu support such as XMB/MaterialUI. Full shader support is provided, and most slang shaders work fine out of the box.
So, to keep a long story short, check some of the unofficial builds out there. In order to use RetroArch on your Xbox One, you simply need to buy Developer Activation from Microsoft, which should only cost you about 20 dollars/Euros (it might even be free right now as part of a special discount going on). You do NOT need to jailbreak your console or anything, which makes RetroArch a very feasible option for the layman on Xbone. Do note that if you want to use RetroArch, you will have to restart into Developer Mode. When you want to go back to playing regular games, you will need to restart again into Retail Mode. This is the only inconvenience to the process.
RetroArch in its full-fat form would not be possible to be published on the Microsoft Store given all the console emulators. A neutered version bereft of all its emulators might be possible to be published, but it’s debatable how many people would be truly interested in that right now. So, Developer Mode is the best compromise/alternative for now.
NOTE: In case you try any of the unofficial builds, do note that one of the reasons we are not releasing a public build yet ourselves is that there are currently some slow file loading issues that we’d like to resolve first.
Apple TV/tvOS port

RetroArch has now been ported to Apple TV/tvOS courtesy of yoshisuga!
Right now it is using the OpenGL video driver for rendering and it’s using the Ozone menu driver by default. Support for Metal is planned, and there are some other developers that have an interest in making that happen as Apple has already begun deprecating OpenGL as of the latest Xcode SDKs.
How to use/install
The following is a non-developer guide to install RetroArch on non-jailbroken iOS devices. We’re going to try to improve the process and possibly include the iOS cores in a download, but until then, here is a way to build RetroArch to get it running on your iPhone, iPad, or Apple TV –
https://docs.libretro.com/guides/install-ios/
Ozone – new menu driver
Written by author natinusula
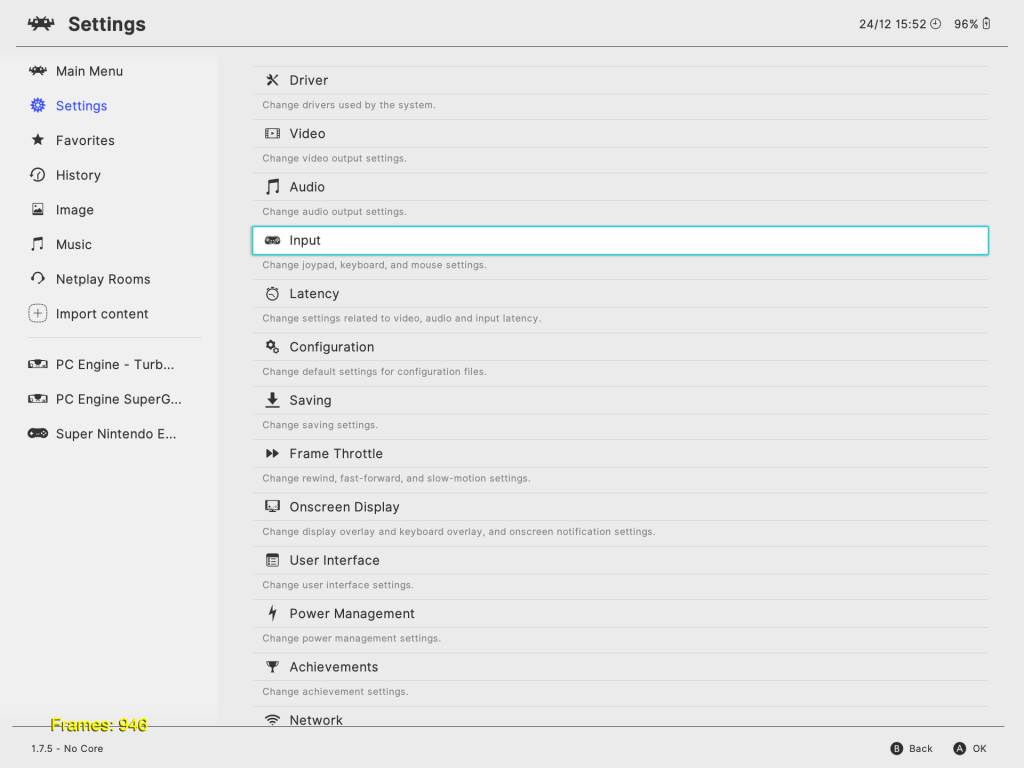
Created by natinusala, ozone is a new menu driver based on the Nintendo Switch’s user interface, look and feel. It has been developed completely clean-room. In the works since last September, it is finally ready to be used as a daily menu driver. Don’t forget to update your assets!
This new menu driver features a sidebar where you will find the tabs you already know from XMB: Main Menu, Settings, Favorites, History, Netplay Rooms, Import content and all your playlists. You can use the left / right keys to navigate between the main entries and the sidebar. The driver also displays the time and battery level in the status bar, if applicable. Finally, the virtual keyboard has been redesigned to look more like the one of the Switch’s operating system.
The driver has two different themes, a light one and a dark one. The configuration will default to the dark theme, but you can select which one to use in Settings > User Interface > Appearance > Menu Color Theme. On the Switch, the system theme will automatically be used, how handy!
ozone is available on all platforms with hardware acceleration (assuming you use the correct video driver), and is even selected by default on the Switch platform. If your device supports XMB and GLUI / MaterialUI, it will support ozone, the only exception being Android (see the missing features below). You can even use it on Lakka if you want!
The driver is ready to be used, but it still lacks some features such as:
– thumbnails display (both playlists and save states)
– DPI scaling (the menu will look super tiny on a 4K monitor, and super big on a 360p screen)
– touch and mouse support
– portrait layout (for mobile phones)
All those features will be added over time. Nice things are planned for the future of ozone!
RGUI improvements
Written by author jdgleaver
RGUI now has a new ‘theme preset’ configuration file format (e.g. my_theme.cfg). This has the following contents:
rgui_entry_normal_color = “0xAARRGGBB”
rgui_entry_hover_color = “0xAARRGGBB”
rgui_title_color = “0xAARRGGBB”
rgui_bg_dark_color = “0xAARRGGBB”
rgui_bg_light_color = “0xAARRGGBB”
rgui_border_dark_color = “0xAARRGGBB”
rgui_border_light_color = “0xAARRGGBB”
rgui_wallpaper = “wallpaper_file.png”
This also adds wallpaper support. rgui_wallpaper is the (relative) path to a suitable wallpaper file. If it is omitted (or left empty), no wallpaper is used. Wallpaper files must have the following properties:
– A resolution of exactly 320×240.
– They must be pre-converted to a reduced colour depth of 4 bits per pixel.
(NB: Normal background/border colours are still used for message boxes and the title background when showing thumbnails – it looks better this way!)
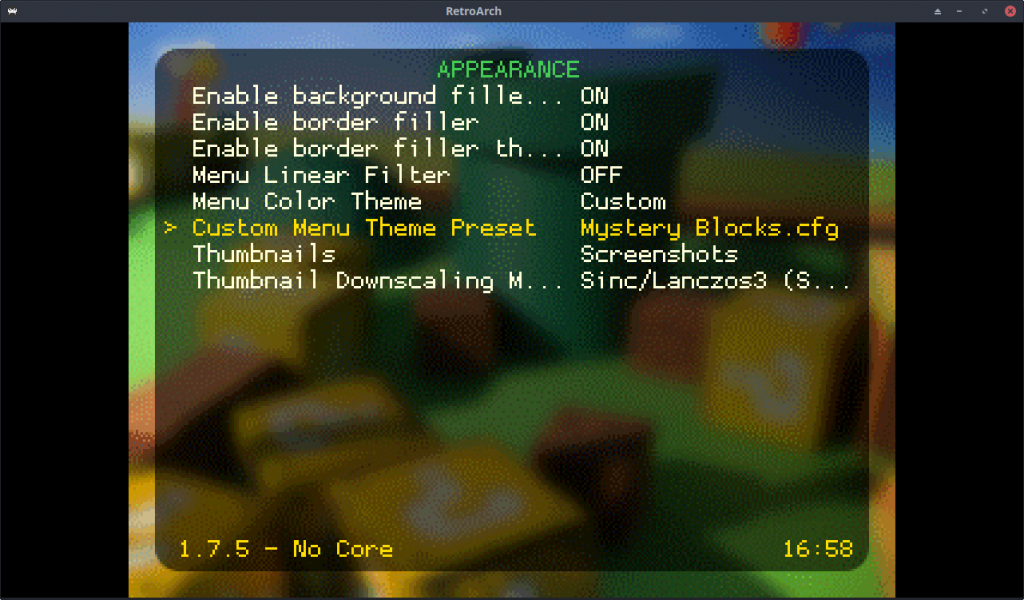
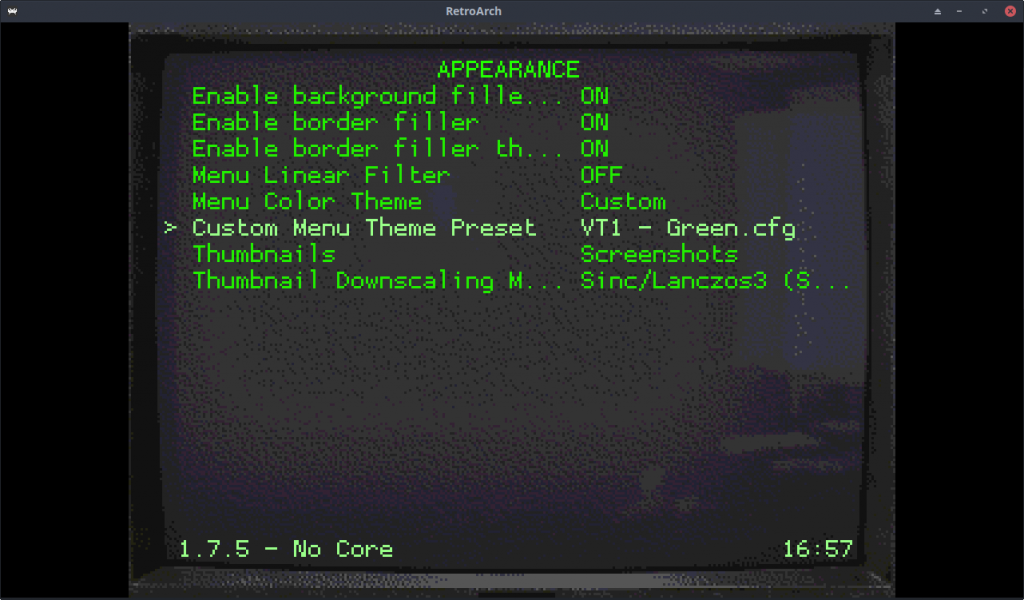
Theme preset files can be loaded via a new ‘Custom Menu Theme Preset’ option under ‘User Interface > Appearance’. They are enabled by setting ‘Menu Color Theme’ to ‘Custom’.
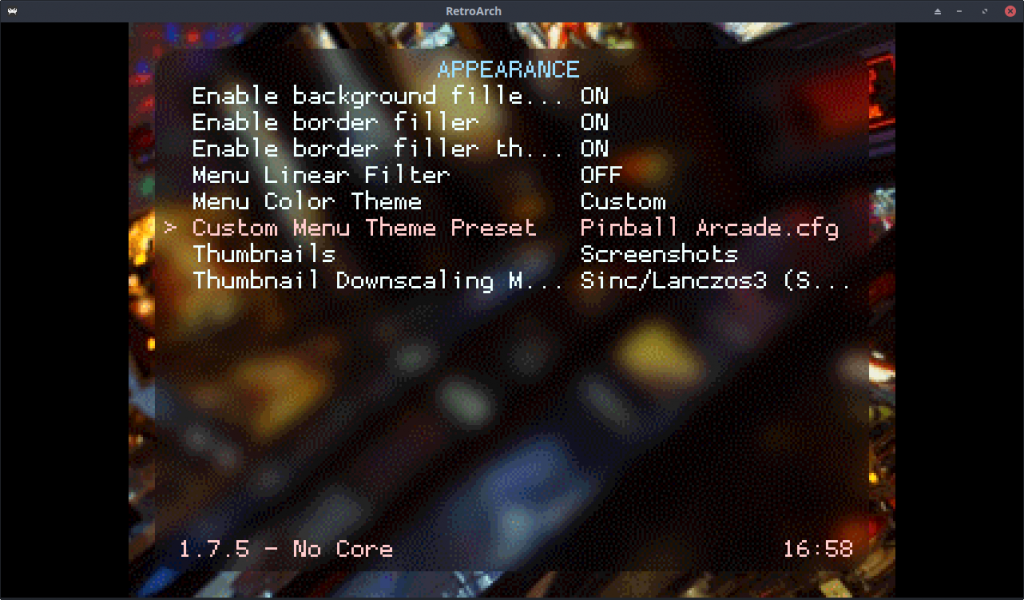
A small collection of themes have been added as assets. Here are some screenshots of what the included .cfg files look like:
Desktop UI improvements
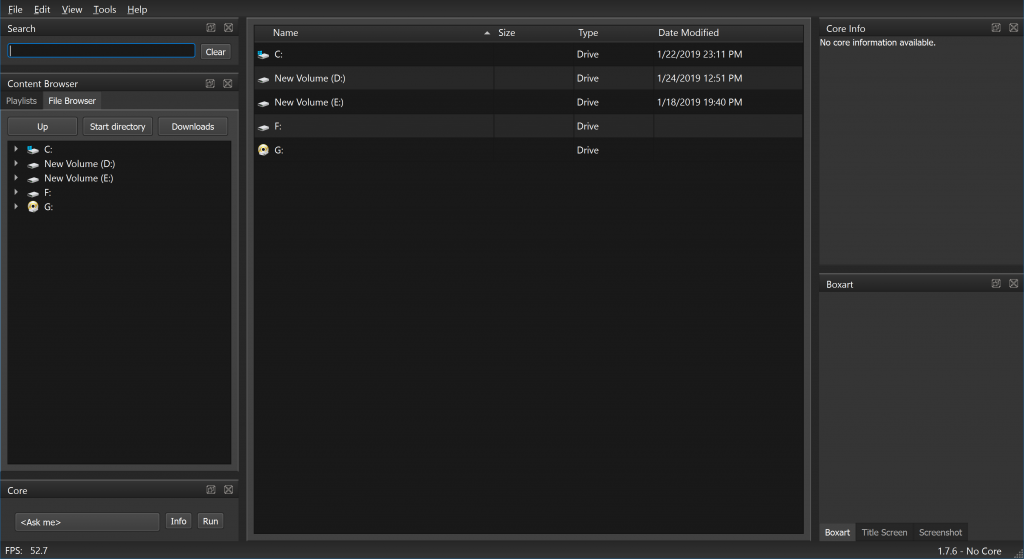
Detailed file browser
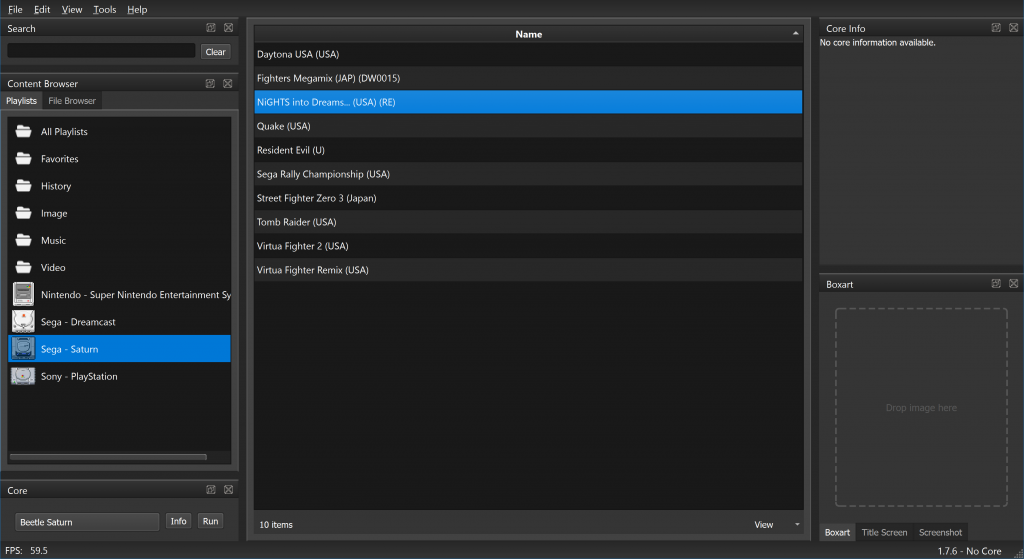
Drag and drop for thumbnails
Discord matchmaking
It is now possible to use our Discord server for matchmaking purposes!
We will describe the process from the perspective of using Windows on PC (on Linux/OSX you can ignore step 5, you will need to continue to start RetroArch before launching the Discord application, otherwise it will not work)
NOTE: Discord matchmaking will not work through the webbrowser. You will need to use the Discord desktop app instead.
NOTE2: Port forwarding needs to be enabled on your router for this to work.
1) Make sure first that the game you want to play with a friend has already been scanned and is inside a playlist. Alternatively, you have to make sure the game is in your Recent History list.
2) Start RetroArch first before launching the Discord desktop application.
2) Make sure that you have the core that the person you want to play with is using. You can tell this by going to their Discord user handle and clicking on them. You will see the core’s name and the game that is being played.
3) Click on the button ‘Ask to Join’.
4) A message will pop up now ‘waiting for user’s game’. If all goes well, the game will start up now and you can play a netplay game with your friend.
5) (Windows only) From now on, you no longer need to start up RetroArch before launching the Discord desktop client. You can just select ‘Ask to join’ and RetroArch will automatically start up.
The Discord matchmaking will also automatically use your Discord username for the game session.
And more
There’s lots more to talk about in this release, but that will be it for now. We might release some followup blog posts in the upcoming days that will go into more detail on some of the other features that have not really been covered during this blog post.
You can also expect further blog posts about important new core updates.
General changelog
– ANDROID: Fix Xperia Play input binding.
– CHEEVOS: Reset when hardcore mode is toggled.
– CHEEVOS: Update the hashing methods to identify NES, SNES and Lynx games (more accurate and accepting headerless ROMs).
– COMMON: Add new JSON playlist format.
– COMMON: Fix playlist corruption when deleting items.
– COMMON: Fix archive progress display calculation.
– COMMON: Fix playlist entries appearing with previously used names.
– COMMON: Fix screenshot filename with no core or content.
– COMMON: Allow compiling without menu support.
– CORE UPDATER: Allow sideloading cores from the menu.
– CPU FILTERS: Add Normal2x filter.
– CRT/LINUX: New Linux switching method partially implemented.
– CRT/LINUX: Linux restore desktop resolution fixed.
– CRT/LINUX: Monitor index switching and auto enumerate for output detection in Linux (still working on the windows method).
– CRT/RASPBERRY PI: Initial support.
– DATE: Add Date / Time style options.
– DEBUGGING: Add an integrated crash handler for debug builds (see https://docs.libretro.com/tech/debugging)
– DISCORD: Discord matchmaking.
– DISCORD: Register the application name properly.
– DISK CONTROL: Remember the last used folder / current active folder to make disk-swapping faster.
– INPUT: Add new menu toggle (hold start button for 2 seconds)
– INPUT: Fix arrow keys being incorrectly bound as numpad keys
– INPUT/SDL: Flush the joypad events. Decreases cpu usage over time with the SDL joypad driver.
– LOCALIZATION: Add Greek translation.
– LOCALIZATION: Update German translation.
– LOCALIZATION: Update Italian translation.
– LOCALIZATION: Update Japanese translation.
– LOCALIZATION: Update Simplified Chinese translation.
– LOCALIZATION: Update Spanish translation.
– MENU: New “ozone” menu driver.
– MENU: Only show CRT SwitchRes if video display server is implemented (Windows/Linux for now)
– MENU: User Interface -> Appearance -> ‘Menu Font Green/Blue Color’ settings now work properly.
– MENU: Add option to enable in-menu sound effects.
– MENU/D3D: Scissoring support (will be used for Ozone and menu widgets).
– MENU/QT/WIMP: Allow building with MSVC2017.
– MENU/QT/WIMP: Add detailed file browser table.
– MENU/QT/WIMP: New grid view implementation that is faster and loads thumbnails on-demand.
– MENU/QT/WIMP: Thumbnail drag and drop support.
– MENU/RGUI: Overhaul custom theme interface + add wallpaper support.
– MENU/RGUI: Thumbnail support and thumbnail downscaling.
– MENU: Hide password values.
– MENU/SOUNDS: Implement in-menu sound effects (not enabled by default for now, still experimental).
– MIDI: Add a Linux ALSA driver for MIDI.
– NETPLAY: Force fast-save-states when netplay is enabled.
– NETPLAY: Allow quick joining subsystem lobbies.
– OSX: Initial CoreAudio V3 audio driver (not yet used in release builds).
– OSX: OpenGL 3.2 Core support for cores.
– PS2: Initial PlayStation2 port.
– PS4: Initial PlayStation4 port.
– RECORDING: Implement recording options in the menu complete with quality profiles, streaming, and proper file naming
– SCANNER: Fix GDI disc scanning.
– SHADERS: Fix auto shader preset loading on D3D10, D3D11, D3D12
– SUBSYSTEM: Allow more than 10 subsystems
– SUBSYSTEM: Cores that use subsystem for complex scenarios can now load content without starting a regular content first
– SUBSYSTEM: Remember the last used folder to make loading subsystem type content faster
– SWITCH/LIBNX: Improve touch scaling calculation.
– SWITCH: Proper button labels.
– TVOS: Initial tvOS port.
– VULKAN: Fix RGUI crashing at startup.
– VULKAN/RGUI: Enable ‘Menu Linear Filter’ option.
– VULKAN: Fix secondary screens in overlays not working.
– WAYLAND: Implement idle-inhibit support (needed for screensaver suspend).
– WAYLAND: Fix fullscreen toggle.
– WIIU: Initial netplay peer-to-peer support. Network information working.
– WINDOWS/WSA: Network Information info is blank until first network operation.
– WINDOWS: Fix an ancient bug that caused wrong mappings for keyboard arrows.
– WINDOWS: Remember window size and position if so desired.
– WINDOWS: SSL/TLS connections now work properly.
– WINDOWS: Fall back to GDI driver if no accelerated graphics driver is found.
– UWP: Initial UWP port.
– VFS: Update to version 3.
– XBONE: Initial Xbox One port.
– XMB/OZONE: Add more icons
– XMB: Add Automatic Inverted theme
– ???: Easter Egg


