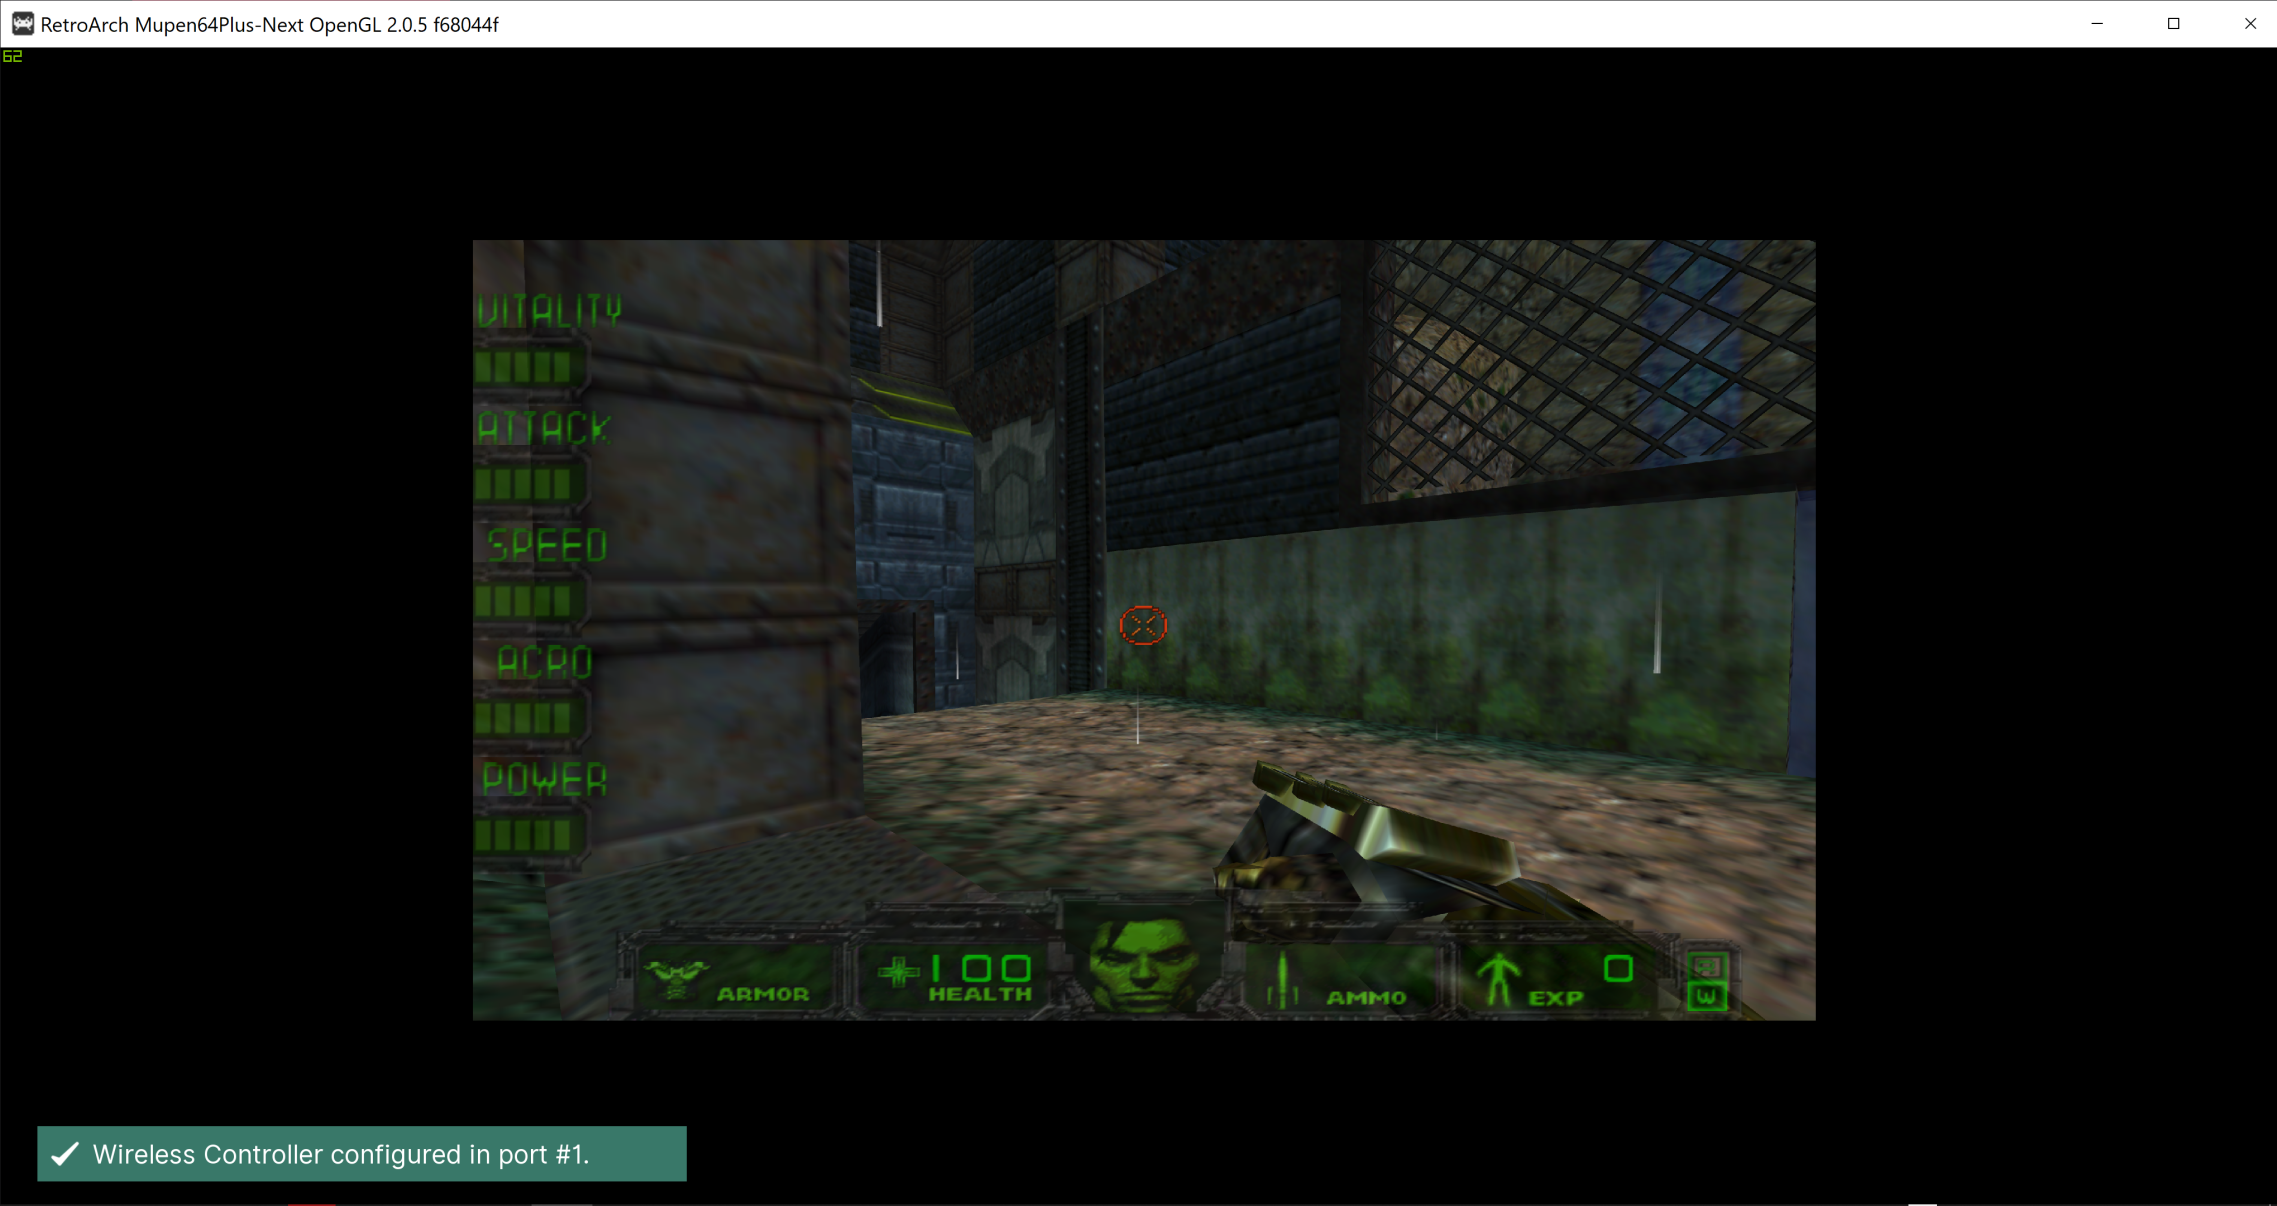
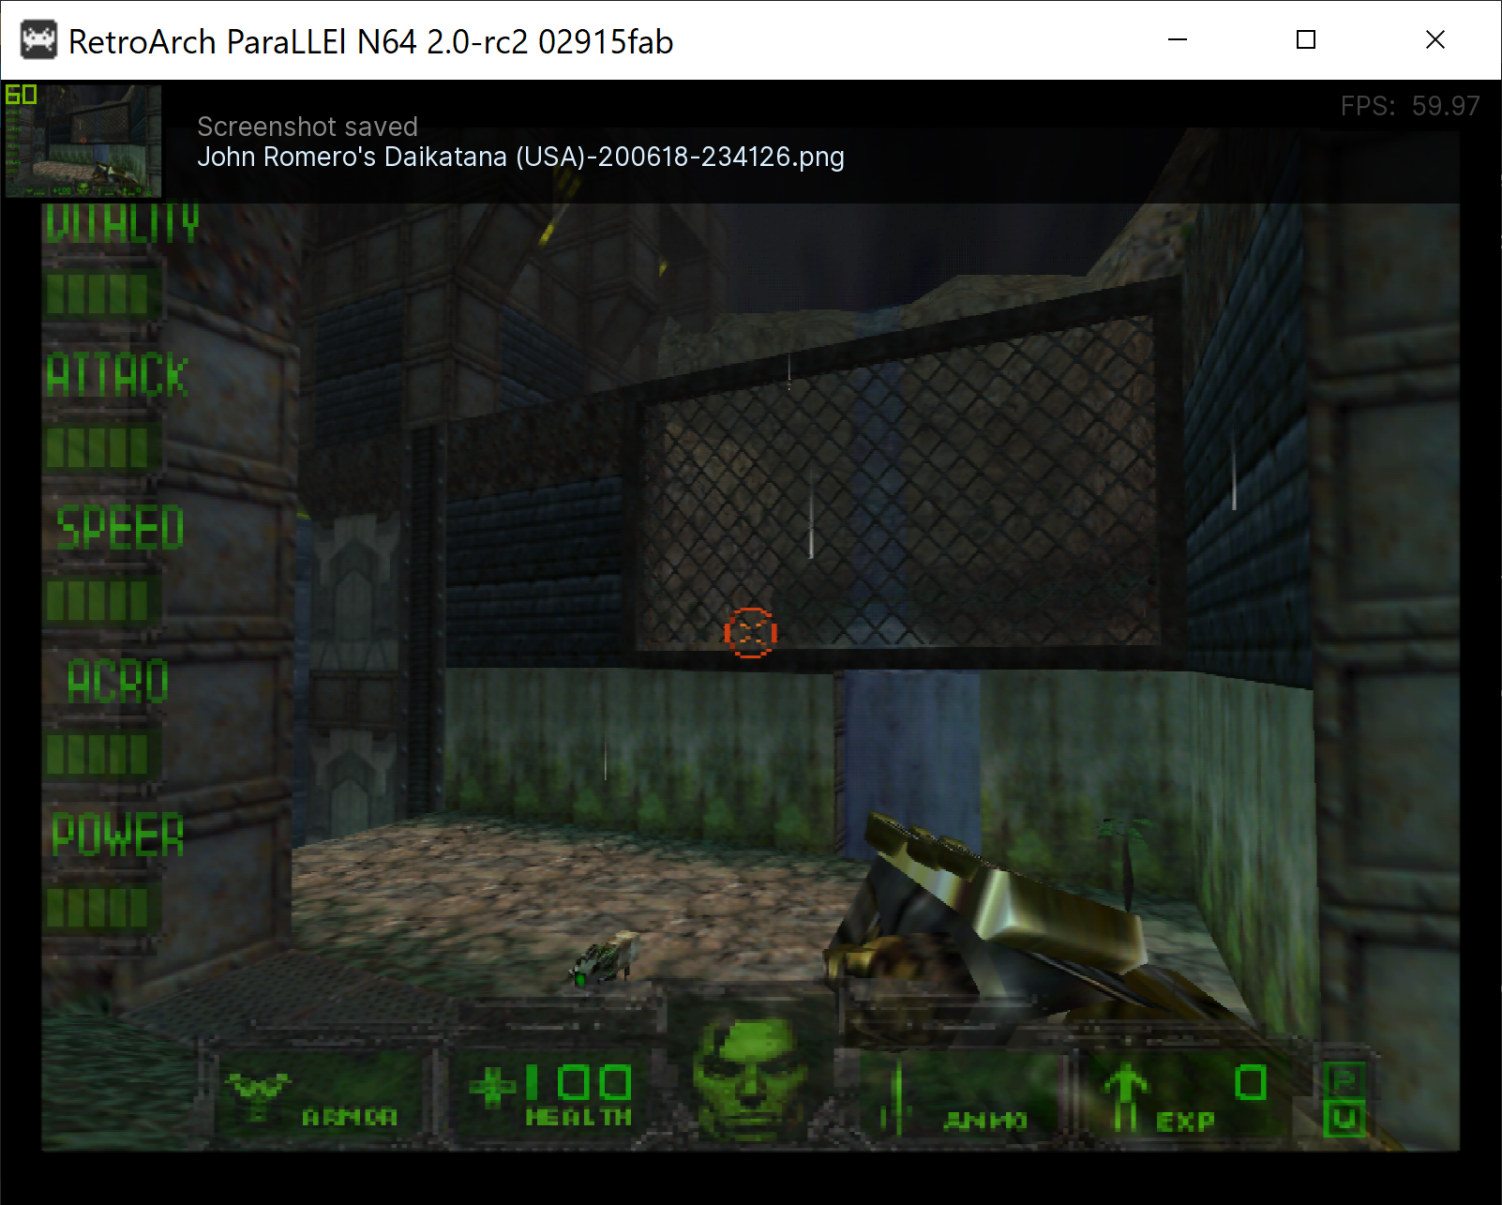
This is a technical article on how upscaling in LLE works on the N64 RDP. Accurate upscaling in LLE is something which has not been done before (it has been done in a HLE framework, but accurate is the key word here), due to its extremely intense performance requirements, but with paraLLEl-RDP running on the GPU with Vulkan, this is now practical, and the results are faithful to what N64 games would look like if games rendered at a very high resolution. There are no compromises on accuracy, and I believe this is a correct representation of upscaling in a “what-if” scenario. The changes required to add this were actually fairly minimal, and there aren’t really any hacks involved. However, we have to be somewhat conservative in what we attempt to enhance.
Main concepts
Unified Memory Architecture – fully accurate frame buffer behavior
A complicated problem with the N64 is that the RDP and CPU have a unified memory architecture, and this complicates a lot. We must assume that the CPU can read arbitrary pixels that the RDP rendered, and the CPU can overwrite pixels written by the RDP earlier. In upscaling, this gets weird very quickly since the CPU does not understand upscaling. To support this, the GPU renders everything twice, once in the native domain, and finally in the upscaled domain. With this approach, the CPU cannot observe that upscaling is happening. It also improves performance in synchronous mode, since we can just render native resolution before we unblock CPU, and the GPU can go on to render upscaled render passes asynchronously, which takes a longer time.
Rasterization at sub-pixel precision
The core mathematical problem to solve for upscaling is how we are going to rasterize at sub-pixel precision. This gets somewhat interesting, since the RDP is fully defined in fixed-point, and there is limited precision available. Fortunately, there are enough bits of precision that we can add extra sub-pixel precision to the rasterization equations. 8x is the theoretically maximum upscaling we can achieve without going beyond 32-bit fixed point math. 8x is complete overkill, 2x and 4x are more than enough anyways.
Instancing RDRAM
Given that we have a requirement of unified memory architecture, paraLLEl-RDP directly implements a unified memory architecture (UMA) as mentioned above where the GPU reads and writes directly into RDRAM. This ensures full accuracy, and this is usually where HLE fails, as implementing UMA at this level is not practical with the traditional graphics pipeline in GPUs. To extend paraLLEl-RDP’s approach to upscaling, I went with multiple copies of RDRAM, one copy for each sub-sample. This works really well, because at any time, if we detect that any write happens in an unscaled context, e.g. CPU writes, we can simply duplicate samples up to upscaled domain. This is essentially some kind of faux MSAA where each pixel has multiple samples associated with it. This is the memory we end up allocating for a 4x upscale (4×4 = 16 samples):
- RDRAM (8 MB) – Allocated on host with VK_EXT_external_memory_host. This is fully coherent with emulated CPU.
- Hidden RDRAM (4 MB) – Device local
- RDRAM reference buffer (8 MB) – Device local
- Multisampled RDRAM (8 * 16 MB) – Device local
- Multisampled Hidden RDRAM (4 * 16 MB) – Device local
The reference buffer is there so we can track when CPU writes to RDRAM. Essentially, before we render anything on the GPU, we compare RDRAM against the reference buffer. If there is a difference, the CPU must have clobbered the pixel, and the RDRAM is now duplicated to all the samples of RDRAM. After rendering something, we update the reference buffer, so we know it’s safe to use upscaled pixels later.
When rendering an upscaled pixel (X, Y), we convert the coordinate to native pixel (X, Y) and convert the sub-pixel to an RDRAM instance, e.g.:
ivec2 upscaled_pixel = ivec2(x, y);
ivec2 subpixel = upscaled_pixel & (SCALING_FACTOR - 1);
ivec2 native_pixel = upscaled_pixel >> SCALING_LOG2;
int rdram_instance = subpixel.y * SCALING_FACTOR + subpixel.x;
read_write_rdram(native_pixel, rdram_instance);
Upscaled VI interface
Adding upscaling to the VI interface is fairly straight forward since we can convert e.g. 16 samples back to a 4×4 block of pixels. From there, we just follow the exact same algorithms that we do for native rendering. This means we get correct VI AA, divot and de-dither happening at high resolution.
Modifying rasterization rules
The RDP is a span rasterizer, a very classic design. The rasterization rules are extremely specific and cannot be accurately represented using normal OpenGL/Vulkan triangle rasterization rules, which are based on barycentric plane equations (to the best of my knowledge you can only approximate).
The RDP receives pre-computed triangle setup data from the RSP. We specify three lines with the triangle setup, where one line is the “major” line XH, and a second line is picked from the two “minor” lines XM/XL, depending on y >= YM. Two values YH and YL limit which scanlines we should render. This lets us implement triangles, or more complicated primitives if we want to. Bisqwit made a really cool ongoing video series on software rendering a while back which also implements a span rasterizer, which is very useful to watch if you want a deeper understanding of this approach.
This triangle setup data is defined more specifically as:
- XH, XM, XL: 32-bit values in the format of s12.15.x. The 4 MSB are sign-extended, and the single LSB is ignored (we can exploit this bit for more precision later!)
- dXHdy, dXMdy, dXLdy: 32-bit values in the format of s12.13.xxx. 4 MSBs are sign-extended, and 3 LSBs are ignored. This represents the slope of the line for XH, XM and XL.
- YH: This is a s12.2 value which represents the first scanline we render. There is 2 bits of subpixel precision, which is very useful because the RDP will sample coverage for 4 sub-scanlines per scanline.
- YM: This s12.2 value represents the first sub-scanline where XL is selected as the minor line, otherwise XM is used.
- YL: This represents the final sub-scanline which is rendered. The sub-scanline of YL is not included in rasterization.
The algorithm for native resolution in GLSL:
// Interpolate X at all 4 Y-subpixels.
// Check Y dimension.
int yh_interpolation_base = int(setup.yh) & ~(SUBPIXELS - 1);
int ym_interpolation_base = int(setup.ym);

int y_sub = int(y * SUBPIXELS);
ivec4 y_subs = y_sub + ivec4(0, 1, 2, 3);

// dxhdy and others are (setup value >> 2) since we're stepping one sub-scanline at a time, not whole lines. This is why more LSBs are ignored for the slopes.
ivec4 xh = setup.xh + (y_subs - yh_interpolation_base) * setup.dxhdy;
ivec4 xm = setup.xm + (y_subs - yh_interpolation_base) * setup.dxmdy;
ivec4 xl = setup.xl + (y_subs - ym_interpolation_base) * setup.dxldy;
xl = mix(xl, xm, lessThan(y_subs, ivec4(setup.ym)));

ivec4 xh_shifted = quantize_x(xh); // A very specific quantizer, see source ...
ivec4 xl_shifted = quantize_x(xl);

ivec4 xleft, xright;
if (flip) // Flip is a bit set in triangle setup to mark primitive winding.
{
    xleft = xh_shifted;
    xright = xl_shifted;
}
else
{
    xleft = xl_shifted;
    xright = xh_shifted;
}
We have now computed a range of which pixels to render for each sub-scanline, where [xleft, xright) is the range. If xright <= xleft, the sub-scanline does not receive coverage. The quantizer is somewhat esoteric, but we essentially quantize X down to 8 sub-pixels of precision (>> 13). This is used later for multi-sampled coverage in the X dimension.
To add upscaling, the modifications are straight forward.
int yh_interpolation_base = int(setup.yh) & ~(SUBPIXELS - 1);
int ym_interpolation_base = int(setup.ym);
yh_interpolation_base *= SCALING_FACTOR;
ym_interpolation_base *= SCALING_FACTOR;

int y_sub = int(y * SUBPIXELS);
ivec4 y_subs = y_sub + ivec4(0, 1, 2, 3);

// Interpolate X at all 4 Y-subpixels.
ivec4 xh = setup.xh * SCALING_FACTOR + (y_subs - yh_interpolation_base) * setup.dxhdy;
ivec4 xm = setup.xm * SCALING_FACTOR + (y_subs - yh_interpolation_base) * setup.dxmdy;
ivec4 xl = setup.xl * SCALING_FACTOR + (y_subs - ym_interpolation_base) * setup.dxldy;
xl = mix(xl, xm, lessThan(y_subs, ivec4(SCALING_FACTOR * setup.ym)));
This is an accurate representation, as the only thing we do here is to shift in more bits into triangle setup, as long as this does not overflow, we’re golden. After this step, we have scissoring. Scissor coordinates are u10.2 fixed point, so it means the maximum resolution for the RDP is 1024×1024. With 8x upscale and 8 sub-pixels of X precision, we can barely pack the resulting range in unsigned 16-bits without overflow.
Modifying varying interpolation
Attribute interpolation is a little more interesting. There are 8 varyings, which all have the same setup data:
- Shade Red/Green/Blue/Alpha
- S
- T
- 1/W
- Z
Each varying has 4 values:
- Base value – sampled at coordinate (XH, YH) (kinda … it’s complicated)
- dVdx – Change in value for 1 pixel in X dimension
- dVde – Change in value when following the major axis down one line, and sampling at the next line’s XH. Basically dVde = dVdx * dXdy + dVdy. I’m not sure why this even exists, it makes the interpolation math a little easier I suppose?
- dVdy – This feels very redundant, but it is what it is. It is only used for coverage fixup and LOD computation.
We cannot shift in extra bits here, unlike rasterization, so we have to be a little creative here. To stay faithful, and avoid overflow, we need to ensure that the interpolation is correct for each sample point which matches sample points for native resolution, and for the inner sub-pixels, we remove some bits of precision in the derivative. Essentially, instead of doing something like this (not the correct math, see code, here for brevity):
int base_interpolated_x = ((setup.xh + (y - base_y) * setup.dxhdy)) >> 16;
rgba = attr.rgba;
int dy = y - base_y;
int dx = x - base_interpolated_x;
rgba += dy * attr.drgba_de;
rgba += dx * attr.drgba_dx;
we do …
int base_interpolated_x = ((setup.xh + (y - base_y) * setup.dxhdy)) >> 16;
rgba = attr.rgba;
int dy = y - base_y;
int dx = x - base_interpolated_x;
rgba += (dy >> SCALING_LOG2) * attr.drgba_de + (dy & (SCALING_FACTOR - 1)) * (attr.drgba_de >> SCALING_LOG2);
rgba += (dx >> SCALING_LOG2) * attr.drgba_dx + (dx & (SCALING_FACTOR - 1)) * (attr.drgba_dx >> SCALING_LOG2);
The added error here is microscopic.
Workarounds
Some games do not work correctly when we upscale, since the game never intended to render sub-pixels. This usually comes into play in two major scenarios, which we need to workaround.
Using LOD for clever hackery
The mip-mapping on N64 is quite flexible, and sometimes two entirely different textures represent LOD 0 and LOD 1 for smooth distance based effects. When upscaling with e.g. 4x, we essentially get a LOD factor which is a LOD bias of -2 (log2(1/4)). An optional workaround is to compensate by applying a positive LOD bias ourselves to emit LOD levels the game expects. Ideally, this workaround is applied only in places where it’s needed.
Sprite rendering / TEX_RECT
Many games render sprites with TEX_RECT with the expectation that textures are rendered 1:1 with input texels to output texels. When we start upscaling, the game might have forgot to disable bilinear filtering, and we start filtering outside the texture boundaries, i.e., against garbage, which shows up as ugly seams in the image. The simple workaround is to render TEX_RECT primitives as if they are not upscaled. This is necessary anyways for the COPY pipe, since the COPY pipe only updates the varying interpolator every 8th framebuffer byte. We cannot safely upscale these kinds of primitives either way.
Conclusion
There isn’t much more to it. Adding upscaling to ParaLLEl-RDP was not all that complicated compared to the other insanity that went into making this renderer work. It’s a principled approach to the upscaling which I believe could theoretically work in a custom RDP hardware design.


