We have a brand new PlayStation2 core, LRPS2. It’s a heavily modified version of PCSX2 custom made for the Libretro API, and it currently runs on Windows, macOS and Linux.
The core code is modern and up-to-date unlike the old core and it no longer suffers from the serious drawbacks the older core had.
It supports nearly all the rendering backends for the GSdx renderer: Vulkan on Windows/macOS/Linux, Direct3D 11 and 12 on Windows, and OpenGL on Windows/Linux.
For those interested, you can also read our compendium article here posted earlier today.
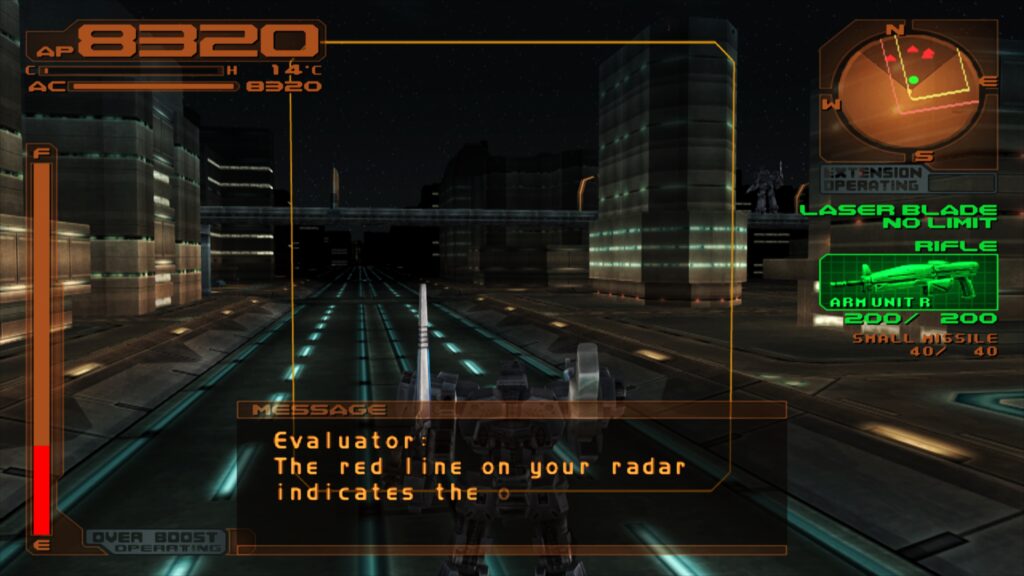
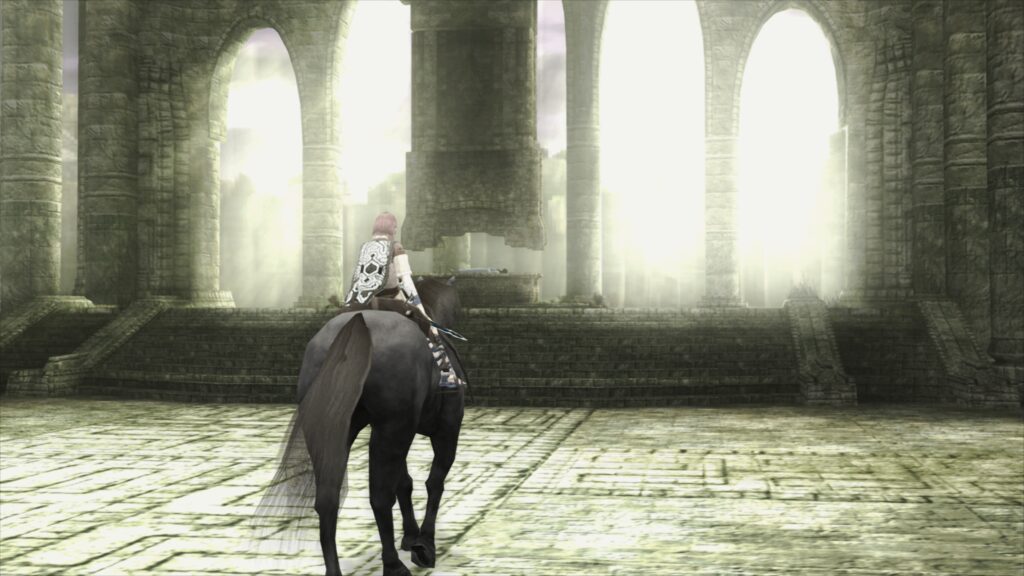
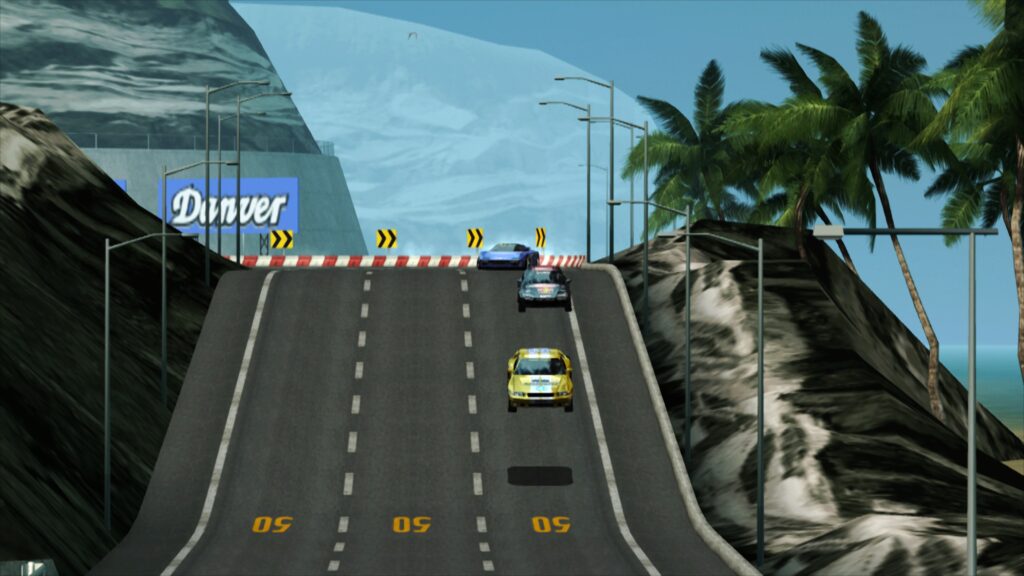
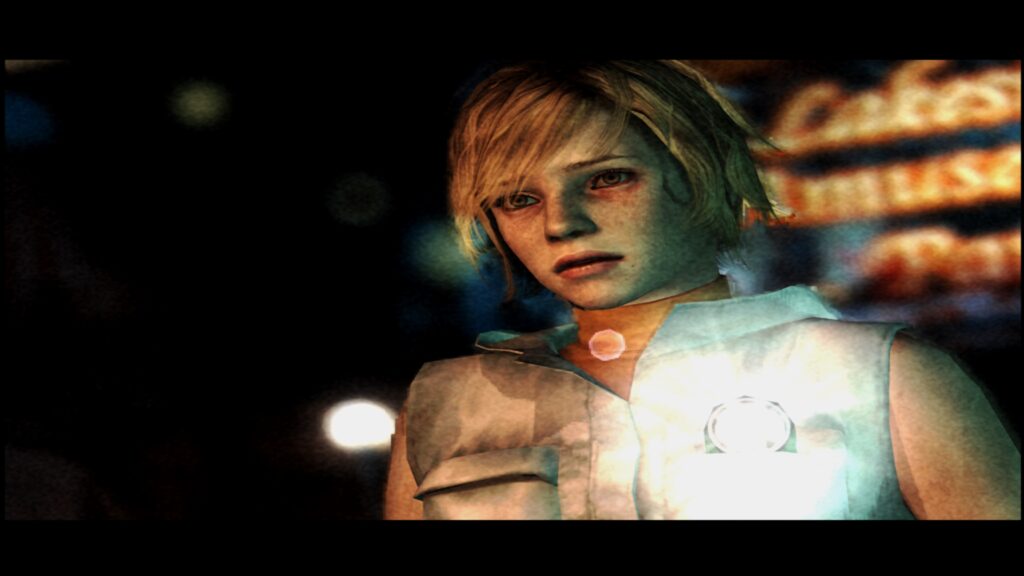
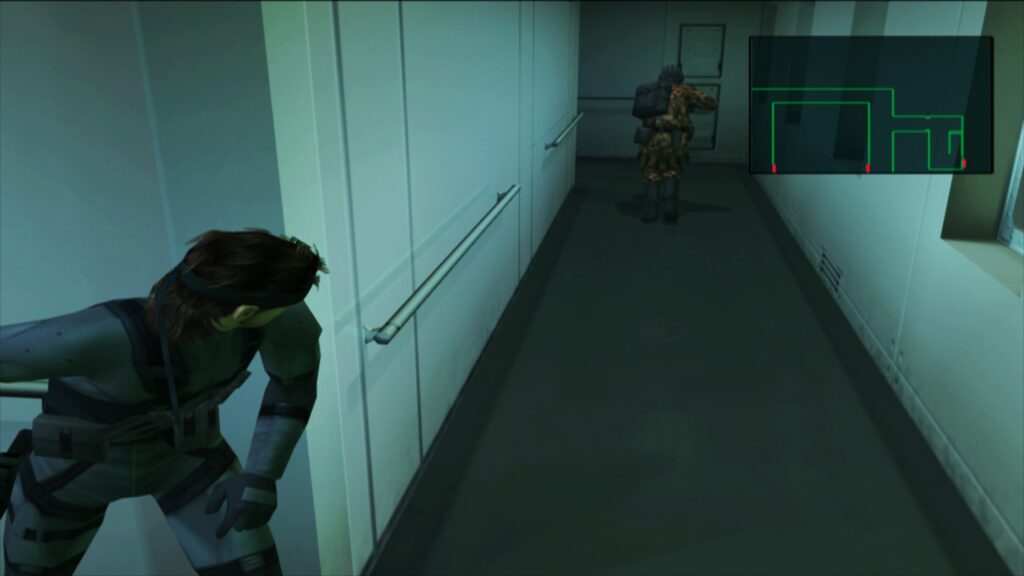
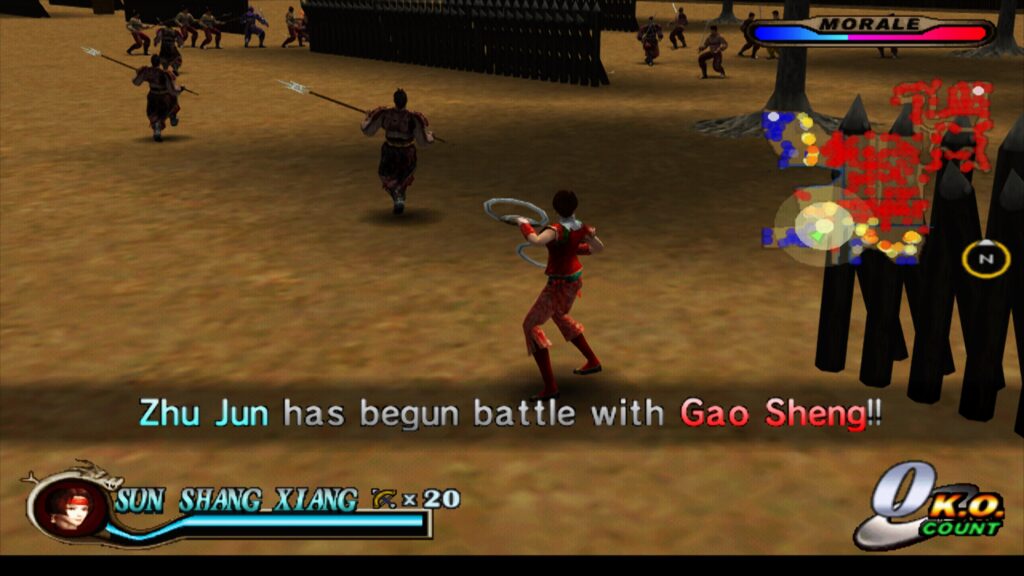
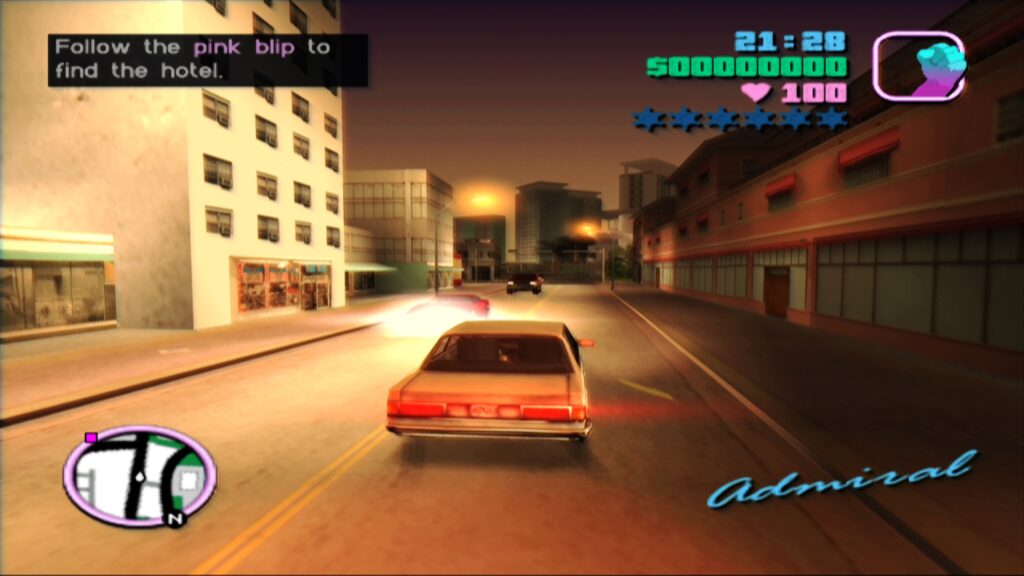
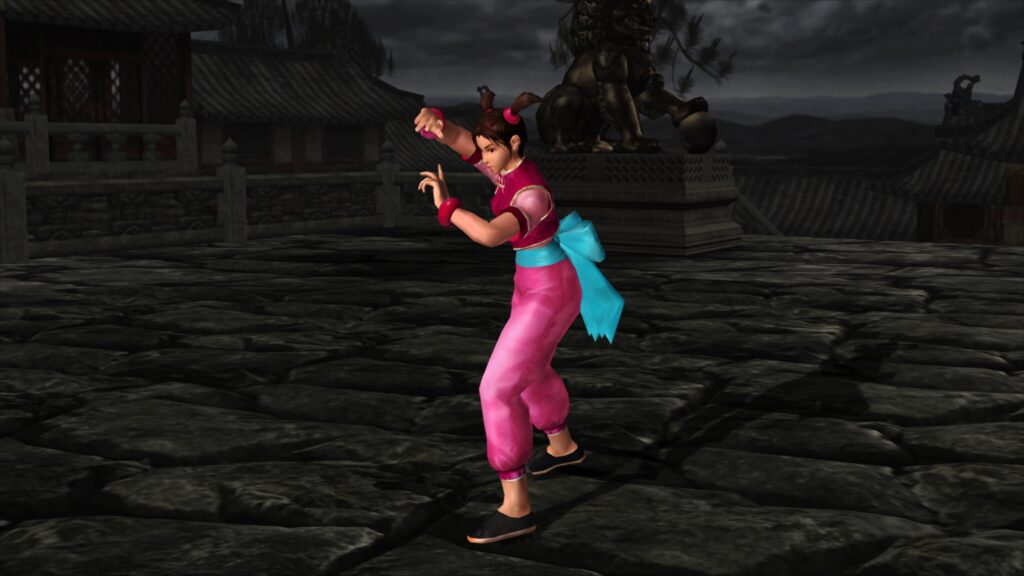
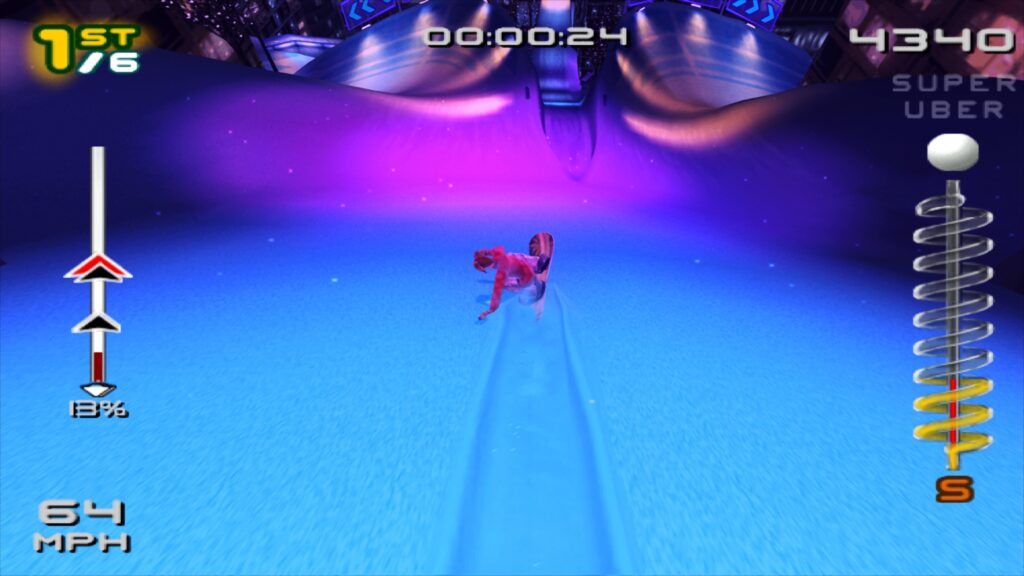
All the screenshots below were taken with the paraLLEl-GS renderer and the following settings: 16x SSAA, paraLLEl experimental high-res scanout turned on. Shader preset used is: presets/fsr/fsr-aa-lv2-bspline-4taps.slangp.
How to set it up/use it
On platforms where the core is available (that is, Windows, Linux, and MacOS; it is NOT available for Android or iOS), go to the online updater and scroll down to ‘Update Core Info Files.’ This will ensure that the core shows up properly under the correct name in the menu. Then, head over to the online updater’s ‘Core Downloader’ and scroll down to ‘Sony – Playstation 2 (LRPS)’ to download the actual core. Next, go to the online updater’s ‘Core System Files Downloader’ and get the LRPS2.zip bundle. This bundle will automatically create the ‘pcsx2’ directory in your ‘system’ directory and put the GameIndex.yaml–which includes the various per-game hacks/settings the core and gsDx renderer use for compatibility–inside. It will also create the ‘bios’ directory, inside which you will need to place your PS2 BIOS set. Once that’s done, you’re ready to scan and/or load your games, which can be in a variety of formats, including CHD, but make sure they are not in *.7z, *.rar, *.zip, etc. compressed archives.
How to use it on macOS (Apple Silicon)
On macOS running on Apple Silicon, you must use Rosetta. To run in Rosetta, exit RetroArch, and show it in Finder. Right-click on it and choose “Get Info” from the menu. In the Info screen is a checkbox to “Open using Rosetta”; make sure it is checked.

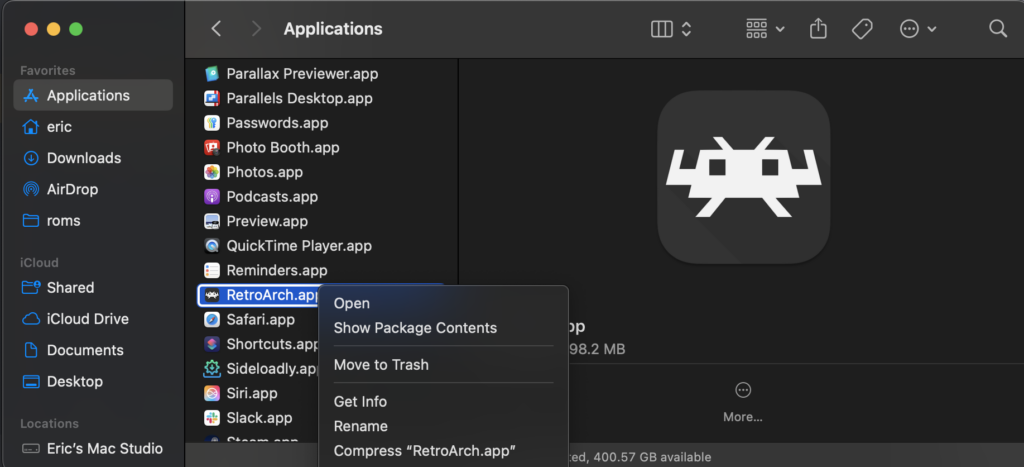
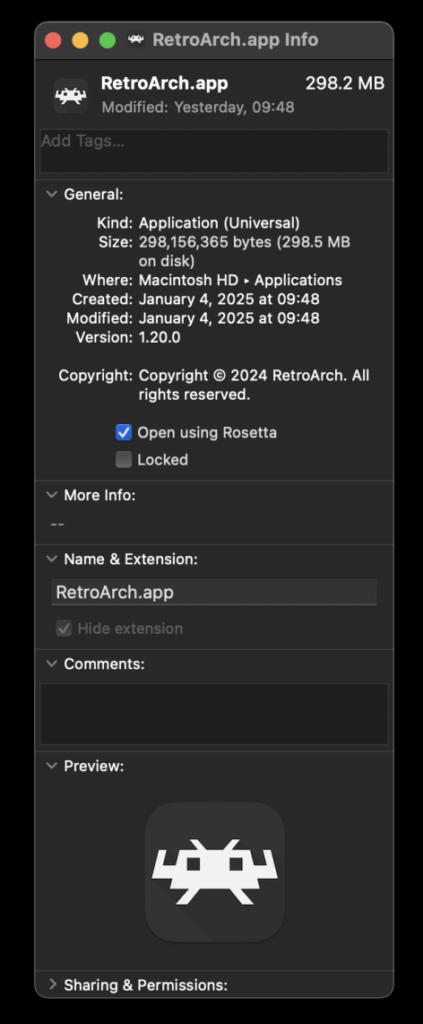
Once it’s running in Rosetta, you will see the LRPS2 core in the Core Downloader.
Explanation of core options:
System
- Fast Boot
- Skips BIOS startup screen and boots straight to the game. Disable this if you want to access the PS2 system settings or access the Memory Card manager.
- Fast CD/DVD Access
- Fast CD/DVD access/seek times. A small handful of games will have compatibility problems with this enabled (such as Klonoa 2).
- Enable Cheats
- Enable cheat files to be read from the ‘cheats’ directory in the system folder. This works the same as mainline PCSX2, it tries to read a cheatfile of the game’s CRC hash followed by the extension ‘.pnach’.
- Language Unlock hint – Looks inside LRPS2’s internal database to find language unlocks or override patches for the game. Some examples:
- Final Fantasy X International – By enabling this, you can force the game to set the Language to ‘English’ by default. The International version is a Japanese/Asian version of the game that has both Japanese and English language options, but defaults to Japanese by default. It’s basically an undubbed version of the game.
- For other games it simply unlocks more language options that are found in the game’s code but never enabled.
Video
- Renderer – Select the renderer to use. Restart for the changes to take effect.
- Auto – Will use the video driver set in the Libretro frontend (i.e. RetroArch). So if RetroArch is set to Direct3D12, it will try to use the Direct3D12 GSdx renderer. If you set it to Vulkan, it will try to use the Vulkan GSdx renderer.
- paraLLEl-GS – Select this to use the new LLE renderer by Themaister. For this to work, you need to make sure your video driver is set to Vulkan in the Libretro frontend (i.e. RetroArch).
- Software – Select this to use the software renderer. WARNING: Don’t use this in combination with ‘Vulkan’ or the core will crash at startup. To get out of this, set RetroArch’s video driver to ‘OpenGL’, ‘Direct3D11’ or ‘Direct3D12’, and then make sure to set the ‘Renderer’ to something else.
- Deinterlacing – Select a deinterlacing method. Use ‘Automatic’ if unsure what to pick. You can set this to ‘Disabled’ when you’re using a progressive scan mode and absolutely no interlaced images are being used.
- No interlacing hint – Looks inside LRPS2’s internal database to find a no-interlacing/progressive scan patch for the game.
- Some games have internal progressive scan options. These can usually be enabled by press and holding Cross + Triangle at the start of a game. If the game supports progressive scan, it will then ask if you want to enable this mode. The nointerlacing hint will try to auto-enable this progressive scan mode where possible so you don’t have to manually set it. Not all the codes have been found for every game though so don’t assume this will always be set.
- Some games use field rendering (interlaced mode) or are full frame rendering games but still look rather bad in high-res scan out. However, there are fancy patches for some games to disable final output of the downsampled front buffer and instead point the front buffer pointer directly to the higher-resolution back buffer instead. The nointerlacing database has patches like this for games like the Snowblind Engine v2 games (thanks to Agrippa for discovering this) and Tekken Tag Tournament.
- Widescreen hint – Looks inside LRPS2’s internal database to find a widescreen patch for the game.
- Some games have a built-in widescreen mode. The Widescreen hint tries to enable these modes when possible so the user doesn’t have to manually do it. The list of games that we do this for right now are small.
- Most PS2 games implement widescreen modes using Vert-, which means you lose screen real estate in widescreen mode instead of actually gaining it (Jak and Daxter, Ratchet & Clank). Most of the widescreen patches that are in the database try to adhere to Hor+ and in some cases override the game’s original Vert- implementation.
- If you set it to 16:10 / 21:9 / 32:9 and it cannot find a patch for that aspect ratio but there is a 16:9 patch available, it will instead apply the 16:9 patch instead as a fallback.
- When a widescreen patch is not found for the game inside the database, it will default to ‘stretched’ mode, where it stretches the 4:3 image across a 16:9 aspect ratio. This is of course the worst-case scenario, and when you find the image to be stretched like this, we recommend you turn the Widescreen hint off for that game.
- PCRTC Anti-Blur – Disable this for the most accurate output image. Enabling this will attempt to deblur the image. Most noticeable on software renderer and paraLLEl.
- Disable Interlace Offset – Debug option. Not recommended to be used by endusers.
The following settings only apply to the gsDX renderer (so NOT paraLLEl-GS)
Video – GSdx
- Internal Resolution – Restart for the changes to take effect. Just like it says.
- Dithering – You can combat the dithering a bit with these settings.
- Blending Accuracy – The higher you set this, the more demands it will place on your GPU. Some games might get away with basic blending while others recommend this to be set far higher. Note that paraLLEl GS always defaults to the highest possible blending accuracy, unlike GSdx. No shortcuts on paraLLEl GS!
Manual Hardware Rendering Fixes – GSdx
- Enable Manual Hardware Renderer Fixes – This will disable all the GSdx game-specific settings from the GameIndex.yaml database. Unless you know what you are doing, it is NOT recommend to turn this ON. Note that for paraLLel-GS this is entirely irrelevant, it uses no per-game specific rendering fixes at all and is not reliant on GameIndex.yaml at all.
Emulation
- EE Cycle Rate – Overclock or downclock the Emotion Engine CPU (the main PS2 CPU). 130% cycle rate corresponds to cyclerate 1, 180% 2, 300% 2. Depending on the internal ‘uncapped framerate’ patch found, you might need to slightly apply some overclocking here to make sure the game can maintain a consistent framerate.
- Game Enhancements hint – Looks inside LRPS2’s internal database to find game enhancement patches for the game. These enhancements include but are not limited to:
- QoL Skip cutscenes – Being able to skip a FMV scene by pressing a button (usually X). Some games like God of War 2 normally don’t let you skip cutscenes.
- Draw distance/NPCs onscreen. The Dynasty Warriors/Shin Mousou games have various game enhancements patches implemented so that the fog is drawn out further into the distance and more of the scenery can be seen. These games would normally go really aggressive on the distance fog. The patches also increase the maximum amount of NPCs rendered onscreen. Some racing games, like Sega Rally 2006, have draw distance enhancement patches enabled also.
- LOD enhancements. Some games use Level of Detail for meshes, like Gran Turismo 4. When we have patches to disable these, we turn them on here. It looks better in high-resolution mode when you don’t see models popping from a low-quality version of the model to a high-quality version depending on their distance from the camera/player.
- Uncapped Framerate hint – Looks inside LRPS2’s internal database to find a patch that uncaps the frame rate (or stabilizes it). NOTE: Use this together with the ‘CPU Cycle Rate’ option, most games can run fine at 130% CPU Cycle Rate uncapped while others might need 180% or even 300%.
- SSX 3 uses this hint for a ‘no frame skip’ option. The PS2 version of the game normally skips frames on certain demanding scenes of the game. With the emulator we don’t really need to do this so we can just stub out the frame skipping code and enjoy a full 60Hz/60fps everywhere. This in some respects makes this the best version of the game to play now (the PS2 version has enhanced bloom/lighting effects not found on Xbox OG).
- Burnout 3/Revenge normally have 30fps menus and crash replays. Enabling this makes them run at 60Hz/60fps (NTSC) or 50Hz/50fps (PAL).
Input
- Port 1: Analog Sensitivity: Set this higher or lower if the deadzone on your controller’s analog stick behaves weird.
- Port 2: Analog Sensitivity: Same but for port 2.
ParaLLEl-GS – Reimplementing the Graphics Synthesizer in compute
By far the star of the show is paraLLEl-GS. Just like paraLLEl-RDP before it, this is a brand new renderer made by Themaister written entirely as a compute program. It’s written exclusively for the Vulkan graphics API.
For a detailed breakdown on this project, read Themaister’s blog article here (it’s several months old by now though).
The goal and aim of this renderer is to be as accurate as the software renderer, but with additional graphical enhancements. SSAA is by far the biggest standout feature of this renderer. When set to 16x SSAA and high-res scan out enabled, it can eliminate all the shimmering and jaggies on 3D geometry and textures.
With high-res scan out enabled, it is possible to double the resolution. Combine this with SSAA and the final output image quality can often exceed gsDX rendering at much higher internal resolutions. And unlike gsDX, almost no hacks have to be enabled/disabled on a game-specific basis for the game.
Explanation of ParaLLEl-GS core options:
- paraLLEl Supersampling – Apply supersampled anti-aliasing (SSAA). Unlike straight upscaling, supersampling retains a coherent visual look where 3D elements have similar resolution as UI elements. For high-res scanout to work, you need at least ‘4x SSAA ordered’ (or higher). Setting this to ‘Native’ disables super sampling.
- paraLLEl experimental High-res scan out – Allows upscaling with paraLLEl. Some might require patches on top. Requires Supersampling to be set to at least ‘4x SSAA ordered’ (or higher) for it to work. The higher the SSAA mode, the better this will look, but the more demanding it will be on your GPU
- paraLLEl experimental SSAA texture – Feedback higher resolution textures. May help high-res scanout image quality. Highly experimental and may cause rendering glitches.
- paraLLEl experimental sharp backbuffer – Attempts to workaround games that add extra blit passes before scanning out. May lead to better image quality in certain games which do this. This option can be hit and miss for some games. For some games like ‘Mahou no Pumpkin’ it will make the output image very sharp and crisp, while with other games it makes either no difference or has some issue. Experiment with this option.
- Force LOD Texture 0 – Disable this for traditional hardware mipmapping. Enabling this will bypass mipmapping and always use texture LOD0 instead. The result is better image quality. Only a small handful of games have graphics rendering issues with this enabled.
Frequently Asked Questions (FAQ)
Q: I get a black screen but can hear audio.
A: If you’re using the D3D11 video driver (which is the default video driver on Windows), some users get a black screen instead of video. Switch your video driver to D3D12 (either globally or just for this core via core override) and then reopen the core and content.
Q: ParaLLEl-GS is very slow on my Intel integrated graphics.
A: Yes, unfortunately, Intel IGPs just aren’t very good at compute shaders. Even relatively recent models fail to run at full speed. The software renderer and gsDx renderer are still the best options in this case. For the record, Intel’s new discrete GPU models should handle it just fine.
Q: The software renderer crashes when I use the Vulkan video driver.
A: Yes, this is known but we don’t know why yet. Until we figure it out, you’ll need to swith to the “glcore” driver in Linux or one of the D3D drivers in Windows to use the software renderer reliably.
Q: What about analog face buttons??
A: We’re working on this, but thankfully it’s only usable in a few games and all games are still playable/complete-able without it.
Q: How can I tell what internal patches are being applied on a per-game basis?
A: Currently this is a bit inconvenient. You need to enable Logging in RetroArch and then look at the log output to see if any of the hints (Game Enhancements, Language Unlock, No interlacing, Widescreen) led to patches being applied by LRPS2. Far from all games have been implemented inside the internal database but we intend for this database to grow quite large.
Q: I’m not seeing LRPS2 in the core list.
A: The core is probably not available for your platform. It is available for Windows, Linux (x86_64), and MacOS. It is NOT available for Android or iOS, nor for ARM Linux. If you’re sure it should be there for your platform and you’re still not seeing it, try updating your core info files via the online updater.
Q: How can I improve frame pacing in the core?
A: Try the option ‘Sync to Exact Content Framerate (Settings -> Video -> Synchronization). If you’re using a VRR display, turn VSync Off in RetroArch and make sure Vsync is enabled in the Nvidia driver control panel (if using an nVidia GPU). Some games like Fighting Vipers and Sega Rally 1995 will not behave well with ‘Sync to Exact Content Framerate’ enabled though, so your mileage may vary. Experiment and find out what works best for you.
