Post written by RetroSven
RetroArch 1.7.4 has built-in cheat code searching/creating. Additional cheat system updates:
- “Load Cheats” has been broken into two separate options. One will replace the list of cheats with what is being loaded whereas the other will append to the list of cheats with what is being loaded.
- Cheat list is now automatically saved and loaded for each game
- When using left/right to change the values of numbers, there is now a feature that gradually increases the step-size the longer you hold the button
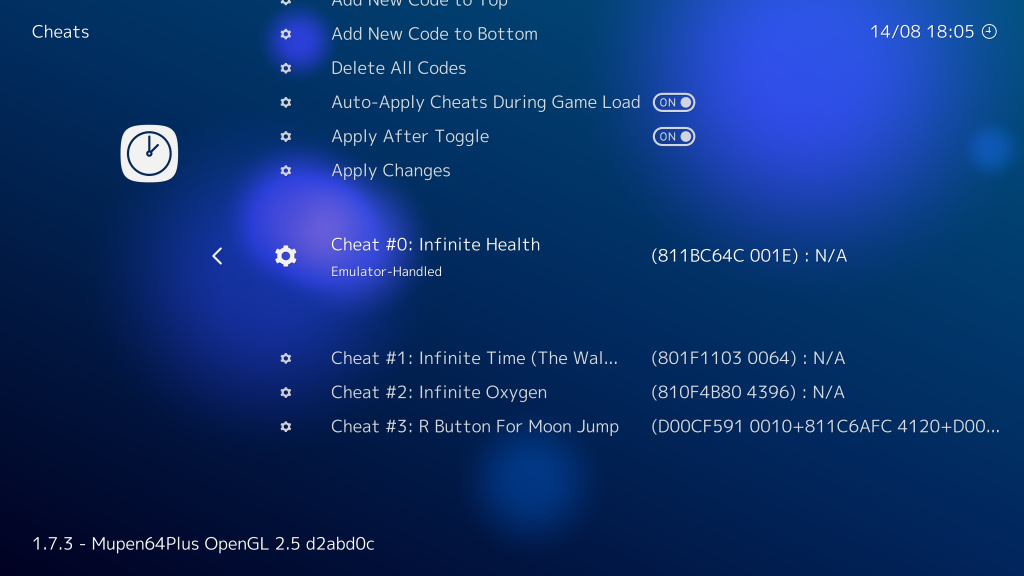
- Full cheat list management – Edit, Delete, Copy, Add, (to top of list, to bottom of list, above entry, below entry)
- There are now two different cheat types – Emulator (handled by the emulator, the original type) and the new type – RetroArch – that is handled by RetroArch itself
- Option to reload cheat file (if you manually edit file while RA is running)
- Option to auto-apply cheats when loading game
- Option to auto-apply cheats when toggling them on/off
- Robust cheat searching interface (see instructions below) which works for just about every RA core
- Rumble activation based on memory changing. For example, after finding the memory location for the number of lives in a game (via the cheat searching interface) you can set it up such that every time the value decreases (lose a life) the controller rumbles. Rumble tested with X360 controller, input driver dinput, joypad driver xinput. Available rumble controls:
Rumble when memory value changes
Rumble when memory value does not change
Rumble when memory value decreases
Rumble when memory value increases
Rumble when memory value = value
Rumble when memory value != value
Rumble when memory value < value Rumble when memory value > value
General Guideline for Finding New Cheats:
- Start game.
- Go to Quick Menu -> Cheats -> Start or Continue Cheat Search.
- Use left/right on “Start or Restart Cheat Search” to select a bit-size appropriate to the console you are using and the value your are searching.
- For example, if you are playing Castlevania:SOTN on the PS1 and you want to search for the health value, then that’s a value that can be greater than 255 (0xFF), but it’s unlikely that the game developers anticipated a value larger than 65535 (0xFFFF) so set the search to 16-bit.
- An alternate example – if you are playing Space Invaders on Atari 2600 and you want to search for the number of lives, then that’s a value that could possibly be stored in just 2-bits of data (max number of lives = 3) and since the Atari 2600 only has a very small memory space, it’s entirely possible that the memory location for the number of lives is only partially stored in a single byte while the rest of that same byte may store other important data that should not be touched. Set the size to 2-bit.
- Select “Start or Restart Cheat Search” once you have selected the bit size
- Go back to the game and lose a life
- Go back to the quick menu and select “Search Memory For Values … Less Than Before” because when you started the search you had one more life than you do now. You could also try “Search Memory For Values … Equals To Before-1”. The number of matches should go down.
- If the number of matches is still too great to peruse, then perform actions 5 and 6 repeatedly until the number of matches is something you feel comfortable trying (e.g. 10). If you run out of lives, just reset the game or restore a save state. Then your lives will likely be greater than the last time you checked, so select “Search Memory For Values … Greater Than Before”
- Once you have a manageable list, select “Add the ## Matches to Your List”
- Go back one menu to see the codes that have been added. Try turning just one on at a time to see if it has the desired effect. If not, turn it off and try the next one. One of them should be the location in memory that stores your number of lives and enabling the cheat in its default state will result in that memory location being overwritten by the cheat value continuously and voila infinite lives.
- Alternately, you can “Search Memory For Values … Equal to ###” if you know the exact number (e.g. the number of hit points you have in an RPG).
Over 1000 new cheat and rumble codes added to the database across the following systems:
- Atari 5200
- Atari 7800
- Atari 400/800/1200XL
- ColecoVision
- MSX/MSX2
- NES
- SNES
- Sega Master System
- Sega Genesis
- TurboGrafx-16/PC-Engine
Incidentally, as a result of all this work, RetroSven also implemented savestate/serialization support for the mainline MAME core, and Reicast!
Many thanks to madmab, Bombbloke, Gilou9999, Bigby, Megaman_? for providing cheat and rumble codes for several different systems!


