DISCLAIMER: Libretro as a group or entity has no affiliation or involvement in the creation of assets contained in any texture pack
So this has been a project that has been cooking in the oven for about a year in the form of a bounty. The goal is to come up with a way to not only dump all the textures of a PlayStation1 game, but also to replace them with user-supplied textures.
Doing this is hard with PlayStation renderers due to the general low level of abstraction of these renderers, which is why it’s not exactly a commonplace feature in many PS1 emulators.
So far we have let it cook slowly in the oven. However, the recent release of people preparing a Proof Of Concept demo in the form of a Chrono Cross texture pack and the circulation of a modified Beetle PSX HW core that adds support for custom texture injection has led us to make the decision to include this feature already in the buildbot cores rather than wait it out. We hope by doing this, that this feature can organically grow and that more people start taking an active interest in making their own texture packs this way for their own favorite content. Libretro is all about enabling people the power and freedom to do what they want with their legally bought content, after all.
Requirements/Availability
Should only require the Vulkan renderer and a graphics card that is compatible with the Vulkan API. Will not work with either OpenGL or software rendering.
Android, Linux and Windows are all supported targets.
How to get it
The usual. Either you have Beetle PSX HW already installed, in which case you would just go to RetroArch’s Online Updater and select ‘Update Cores’. In case you don’t have it already installed, go to ‘Online Updater’, select ‘Core Updater’ or ‘Core Downloader’ (depends on the version of RetroArch you’re using), and then download Beetle PSX HW.
Explanation of core options
Two new core options have been added.
Dump Textures
While the game is running, it will dump all current active textures it comes across to a directory. The name of this folder is [gamename]-texture-replacements, and it will dumped inside the same dir that your content (ISO or other image format) comes from.
Replace Textures
It will attempt to use all HD textures from the ‘texture-replacements’ directory. The name of this folder is [gamename]-texture-replacements, and it will try to read this directory from the same dir that your content (ISO or other image format) comes from.
NOTE: Later on, we might add another option that allows you to point the dumping and injection path to somewhere else. Right now this is a problem for instance when you have your content stored on a slow disk device like a HDD but you want your texture replacement files to be read from your much faster but smaller SSD instead. Right now, you are forced to move the image to your SSD as well, because otherwise it just dumps and/or reads these texture replacement files from the same dir as the image, in this case the mechanical harddrive.
How to make it work
Make sure you have the textures extracted already in your [ganename]texture-replacements dir, and make sure that the dir is in the same dir that your game content file (ISO or other image format) comes from.
Start Beetle PSX HW, make sure that you are using the Vulkan renderer (it won’t work with either the software renderer or GL renderer), and then make sure the ‘Replace Textures’ option is enabled.
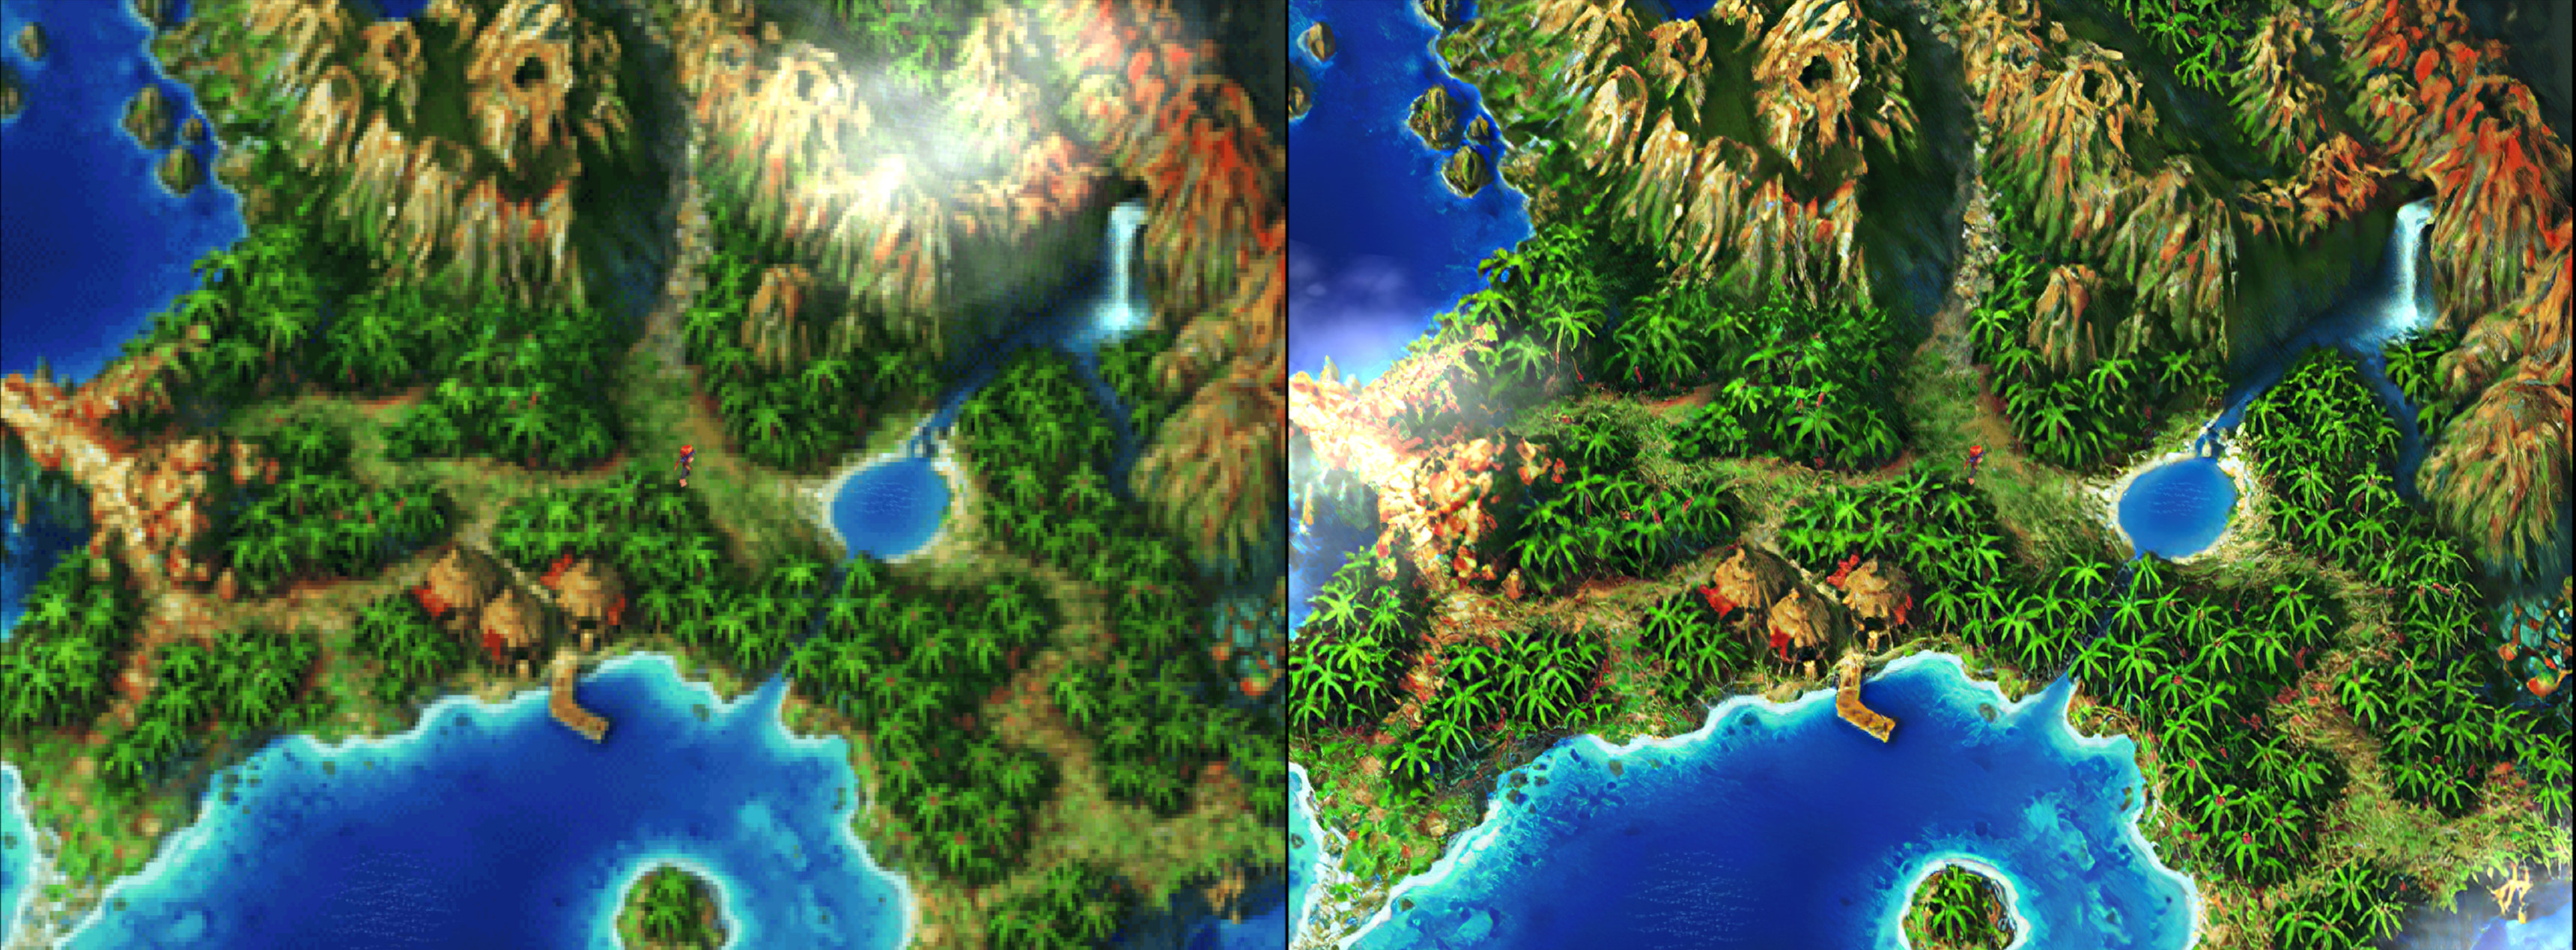
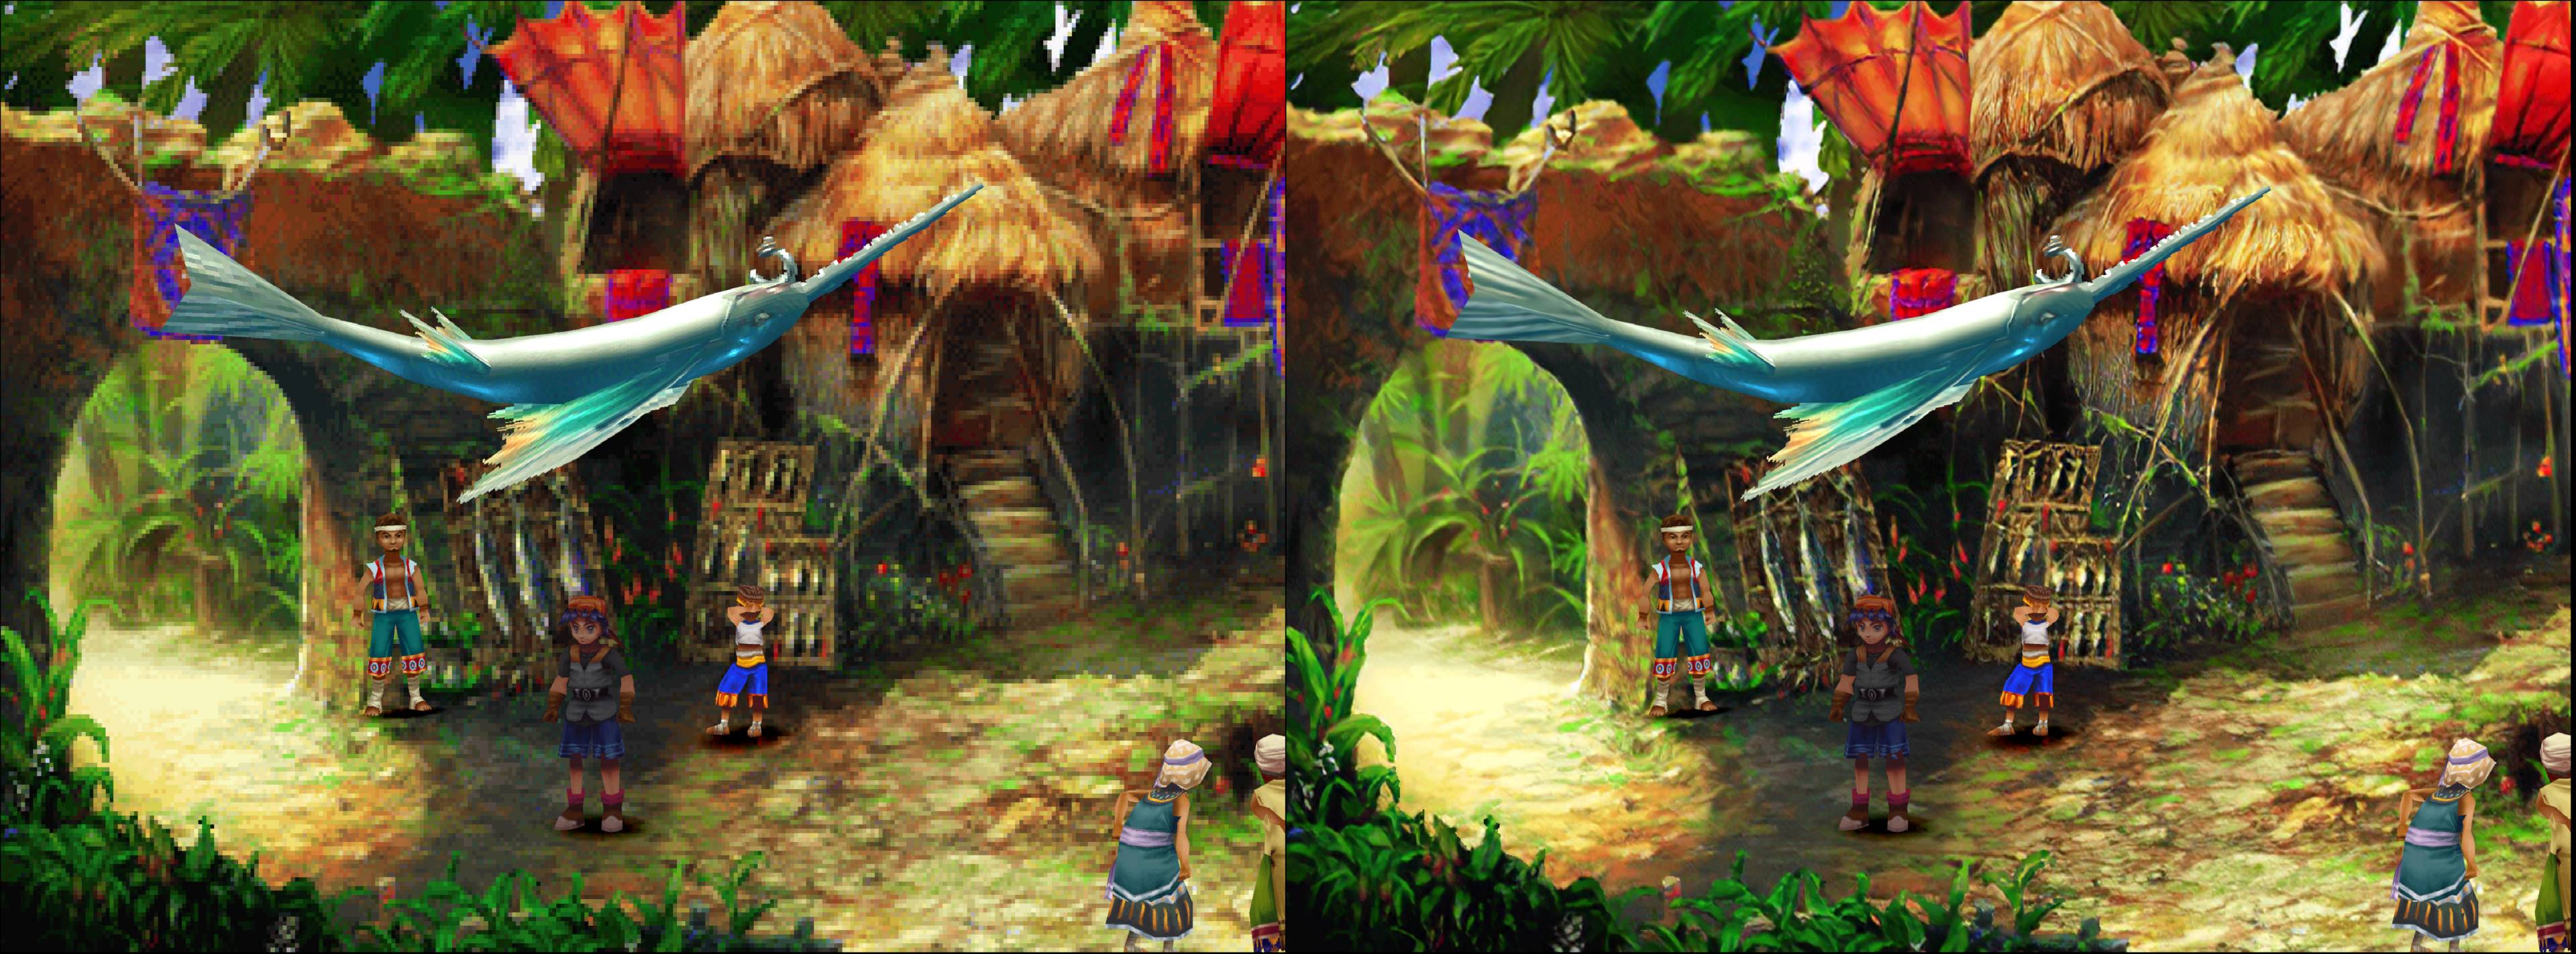
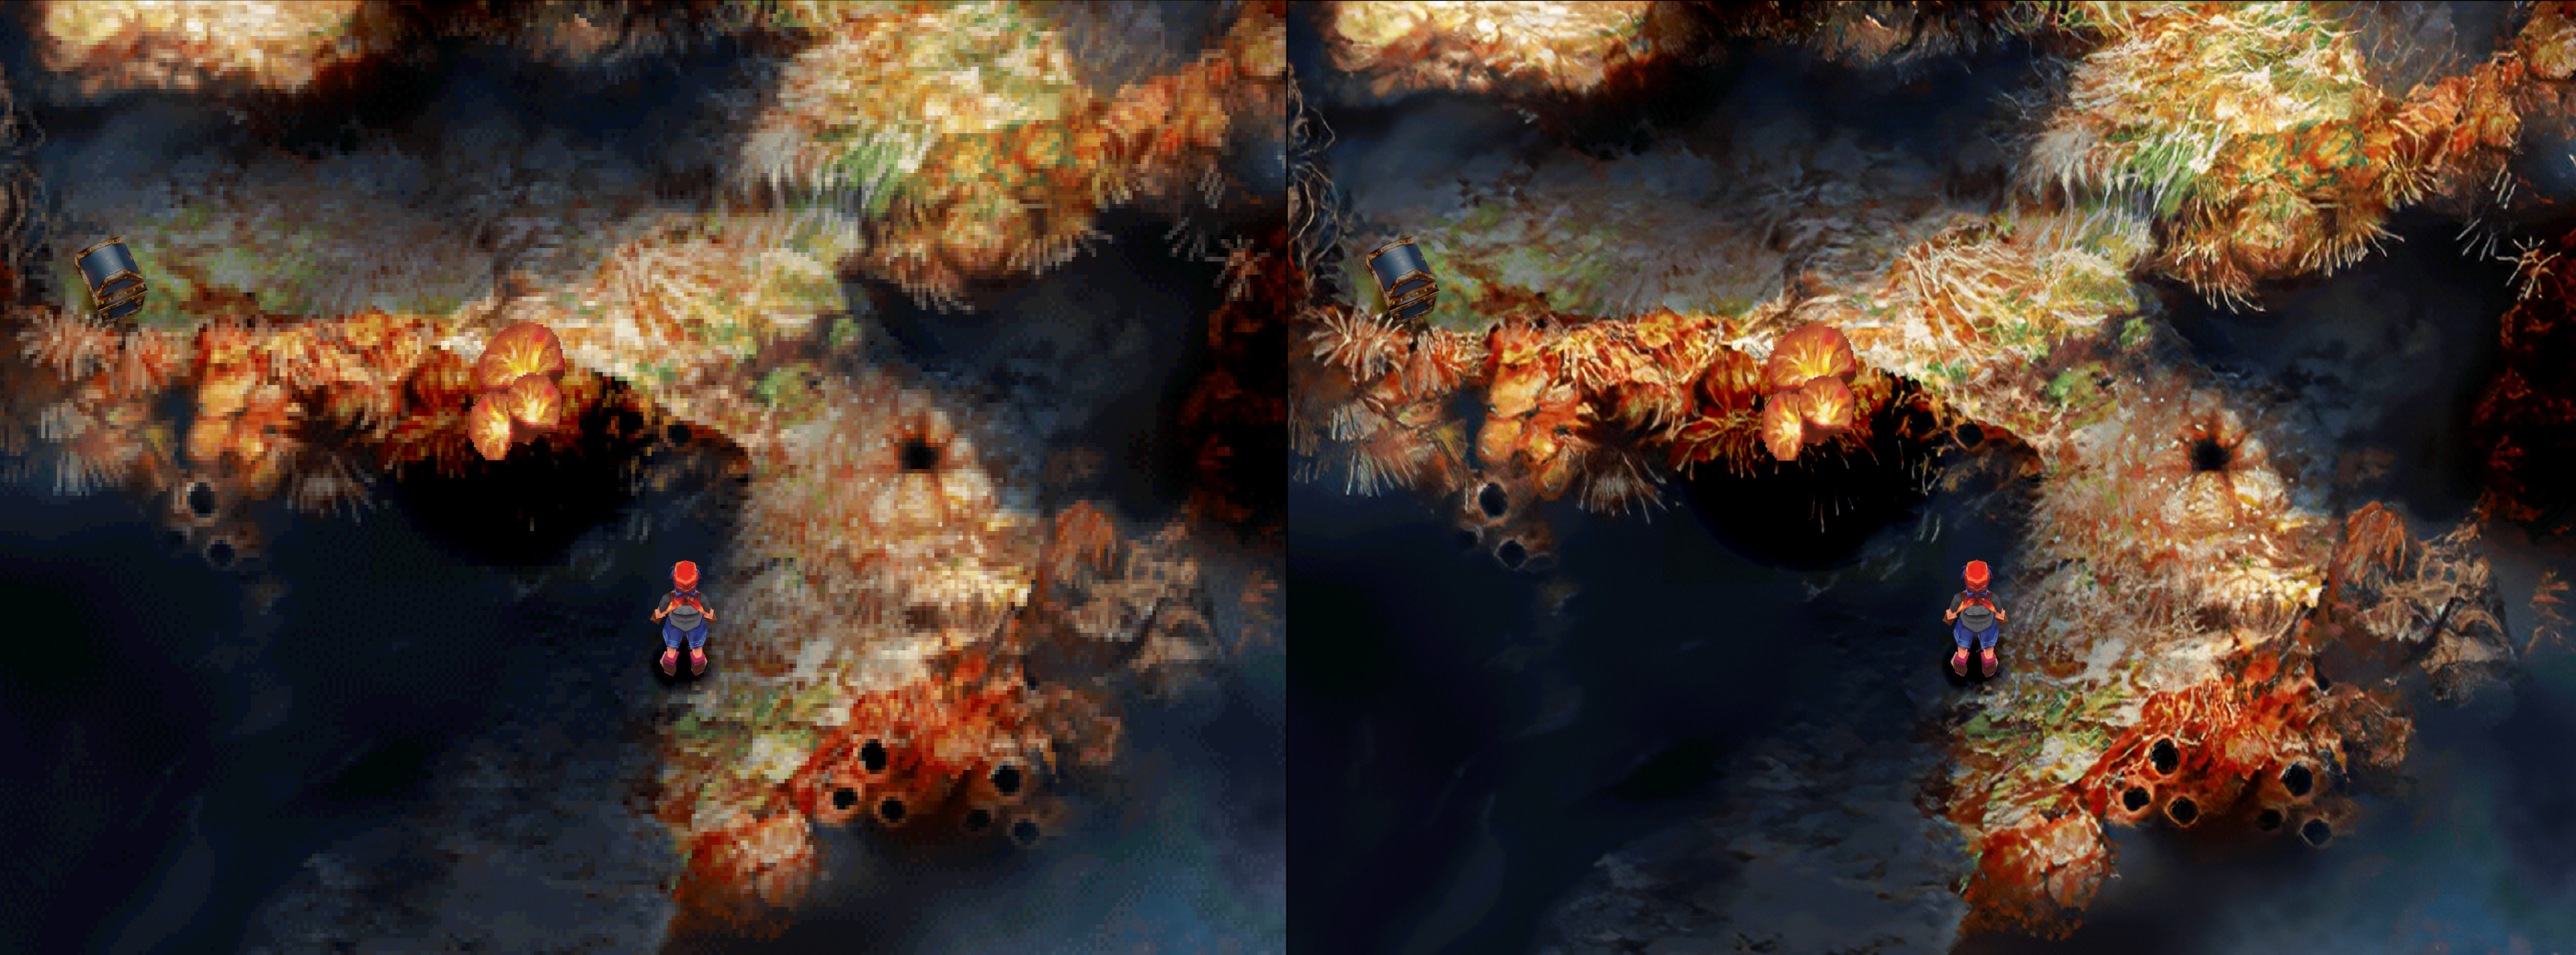
If it works properly, you’ll start seeing low-resolution textures replaced by higher-resolution ones.
Screenshots
Future
We hope to provide you with an article in the near future that goes into how to create your own texture pack for a game.
Is the format set in stone? Is it complete? Probably no to both. It is a Work-In-Progress. However, we hope that by putting it out there already, the community can already start experimenting with the option, putting it through its paces, and see what its limitations are and how far it can be pushed.


